Getting Started > SQL Server settings > Scheduling a Database Backup
 Scheduling a Database Backup
 |
Warning: Scheduling a Database Backup using Amicus Firmsettings/utilities will not work if you are using SQL Server 2016, SQL 2017 or 2019. In these cases you must manually schedule a Database Backup. |
To schedule a database backup operation start SQL Server Management Studio in SQL Server:
-
In the Connect to Server dialog box, enter the appropriate values in the Server type.
-
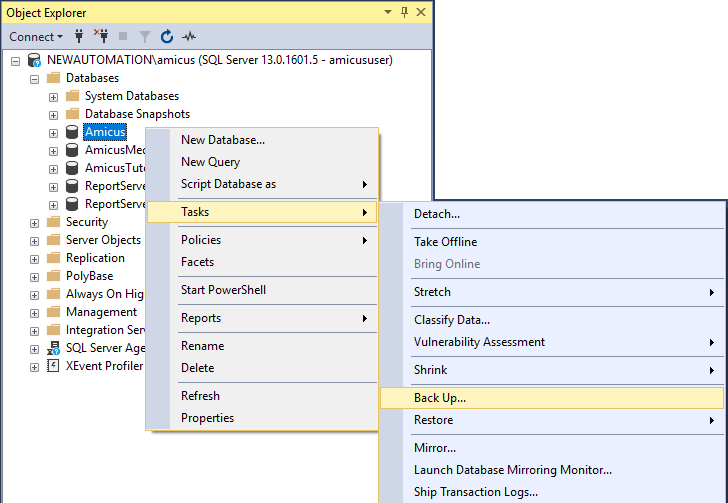
Expand Databases in Object Explorer and right-click the database that you want to back up.
-
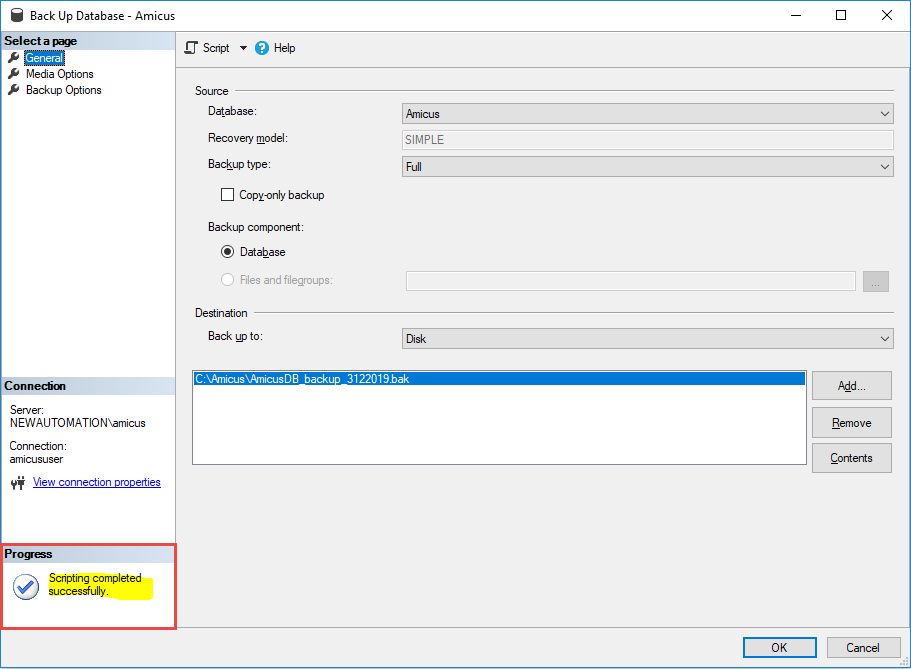
Select Tasks > Back Up from the pop-up menus to display the Back Up Database - DatabaseName dialog box.

-
In the Source section, select the name of the backup set from the Database field drop-down list.
-
In the Destination section, select a destination from the Back up to field drop-down list and enter a path and a file name in the textbox, then click Add.
-
Select Script from the taskbar to display the Script pull-down menu and select Script Action to Job.

-
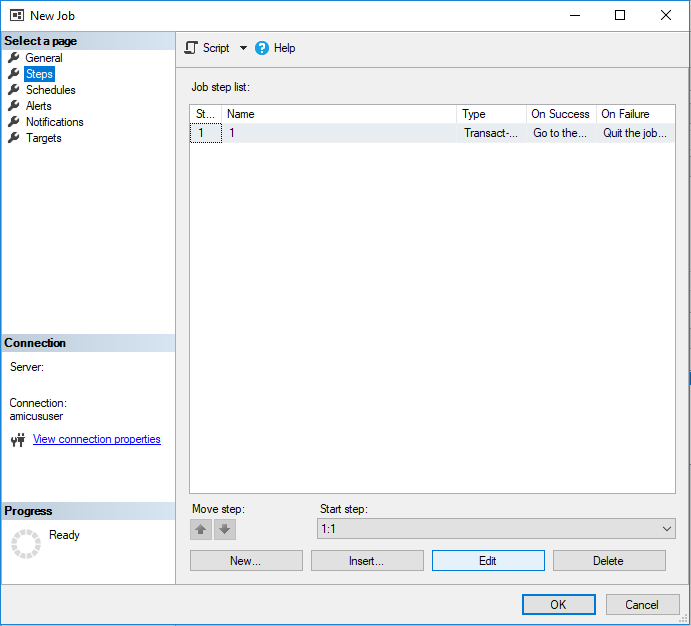
In the New Job dialog box that appears, select Steps from the left pane.
-
Click Edit if you want to change the job parameters.

Note: You can see the backup command in the Job Step Properties - 1 dialog box. -
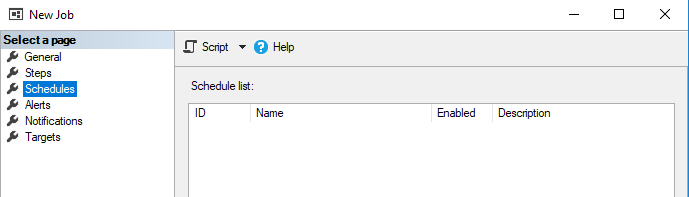
Select Schedules from the left pane.
-
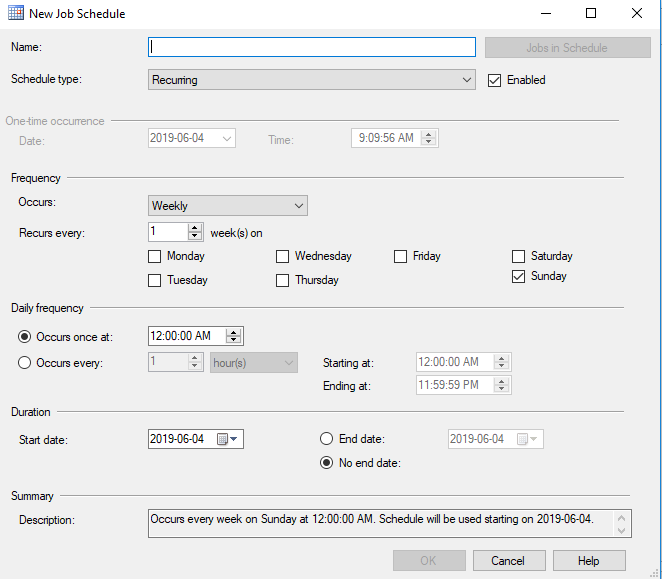
Click New to display the New Job Schedule dialog box, enter the job name in the Name box, specify the job schedule.
-
Click OK two times, the following message displays under Progress:
Note: To configure alerts or notifications click Alerts or Notifications in the left pane.
- To verify the backup job, expand SQL Server Agent in Object Explorer, then expand Jobs.
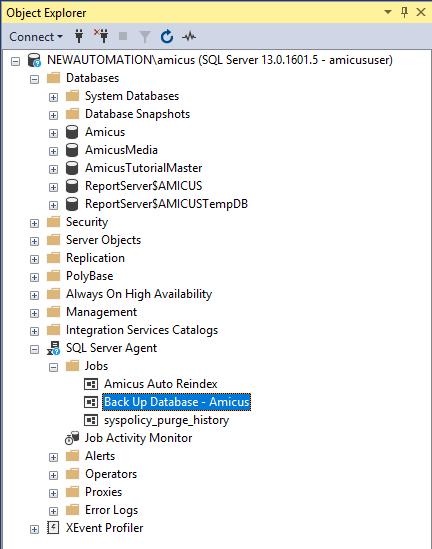
 |
Important: When you verify the backup job, the SQL Server Agent service must be running. |
