Specifying Document Settings for the firm > Document Management Setup
 Document Management Setup
To make it easier to transition to Amicus-Managed documents a wizard quickly creates a sophisticated folder structure for re-use on matters. It also facilitates the option to re-scan for documents that may not have been accessible to the server when the firm first made the move to Amicus-Managed.
This topic covers:
Enabling Amicus-Managed
If your firm would like to enforce more strict controls over the location of documents and version control with the check in/check out feature you will want to enable Amicus-Managed. The current default option is User-Managed.
To begin the process as the Firm Administrator go to Administration > Firm Settings to display the Firm Settings window.
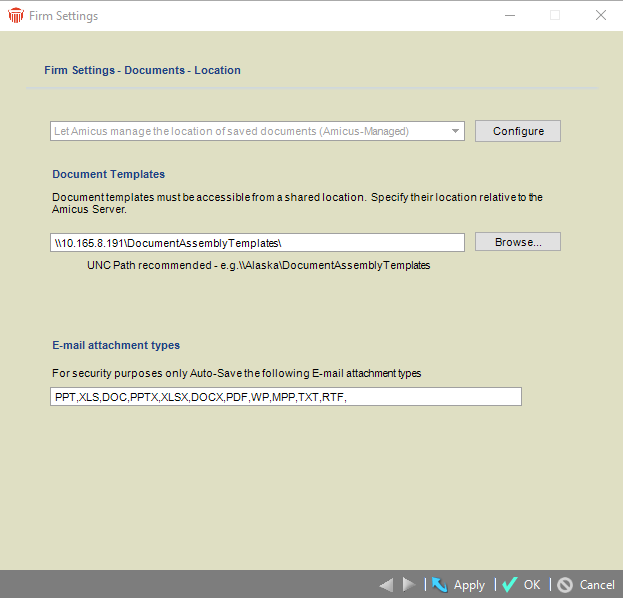
- Select Management under the Documents heading to display the Firm Settings - Documents - Location dialog with the following fields.
-
The Document Management field is disabled.
-
The shared location of the Document Templates relative to the Amicus Server is specified.
-
E-mail attachment types lists the format attachment types that can be auto-saved.
-
-
Click the Configure button beside the first field to launch a setup wizard.
-
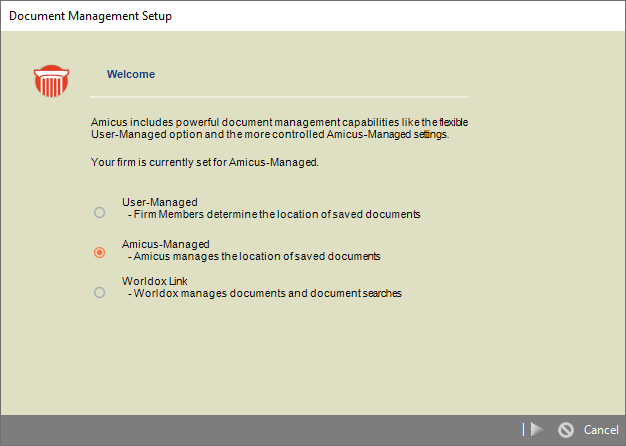
The following radio buttons display:
-
User-Managed
-
Amicus-Managed
-
Worldox Link
-
-
-
Click the Amicus-Managed radio button and select the next arrow in the footer to display the Amicus-Managed Settings dialog.
-
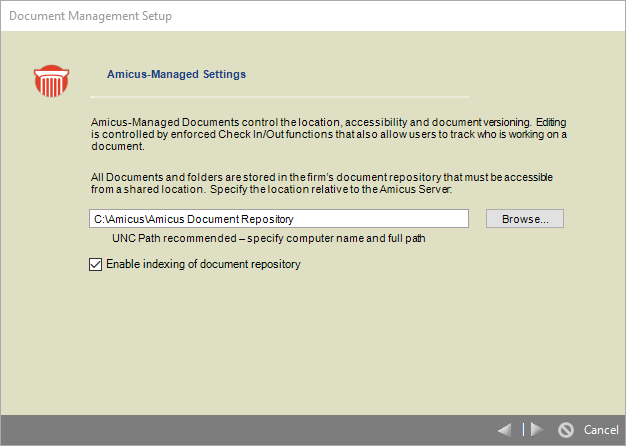
The following fields display:
- UNC Patch recommended – specify computer name and full path – Keep the defaul or click Browse to select another folder.
-
-
Click this checkbox to Enable indexing of document repository — This is the shared document path where all of the firm's documents are stored. The folder structure is completely virtualized within Amicus Attorney.
-
The new document profiles created for all of the imported documents use the last modified date/time of the document itself on the profile.
-
-
Click the next arrow to continue the Amicus-Managed Settings wizard.
-
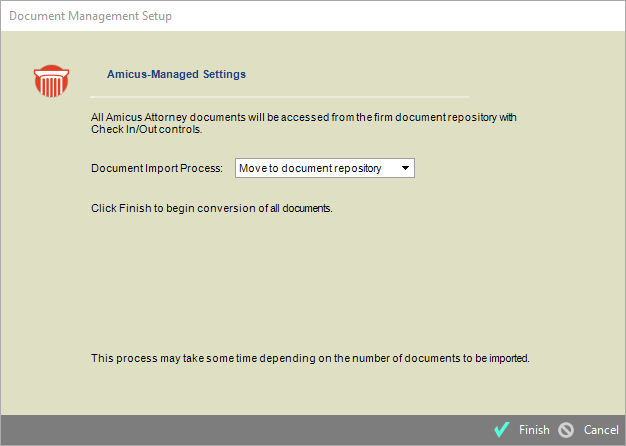
The Document Import Process has the following two options:
-
-
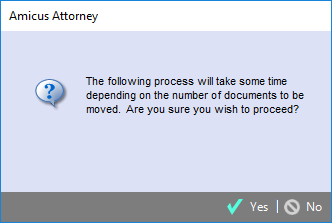
Move to document repositiory (default) — Click Finish to begin conversion of all documents. A warning prompt displays letting you know that the document import process may take some time. Are you sure you wish to proceed?
-
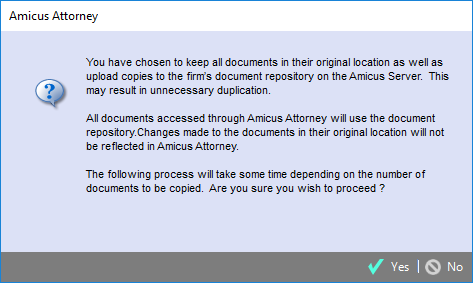
Copy to document repository — Click Finish to begin conversion of all documents. A warning prompt displays letting you know that you have chosen to keep all documents in their original location as well as upload copies to the firm's document repository on the Amicus Server. This may result in unnecessary duplication. The following process will take some time depending on the number of documents to be copied. Are you sure you wish to proceed?
-
Click Yes to continue and a progress bar displays.

-
If documents are detected but cannot be converted you will receive a message prompt with the reason.
-
-
Click Close to return to the Firm Settings window.
Re-scan for any documents that were not originally accessible
Run through the wizard a second time or multiple times if any documents were not originally accessible when you enabled Amicus-Managed mode. This attempts to scan any documents that had not been converted the first time.
Going back to User-Managed
After you move to Amicus-Managed you can always decide to undo the change. However: this won't move the documents back to their exact location prior to the move to Amicus-Managed.
With the move to Amicus-Managed documents are placed into a central location only accessible through Amicus Attorney. When moving back to User-Managed you can choose to move a document anywhere you want.
If you chose the Copy option this may cause some confusion as the original documents are still in place, but the document profiles in Amicus Attorney will point to the new shared documents path.
To begin the move back to User-Managed mode go to Administration > Firm Settings to display the Firm Settings window.
- Select Management under the Documents heading to display the Firm Settings - Documents - Location dialog. Click Configure to launch the wizard.
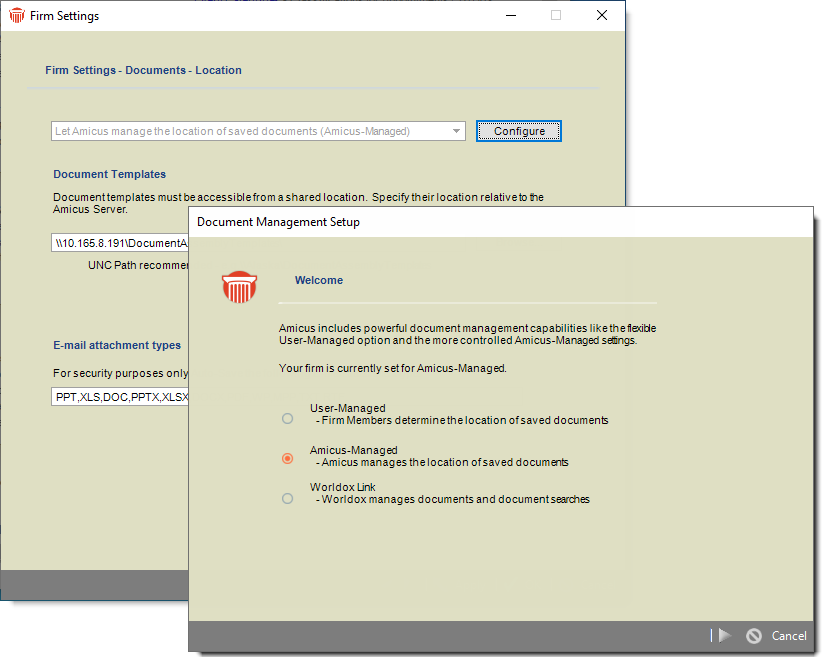
- Change the radio button back to User-Managed and click the Next arrow.
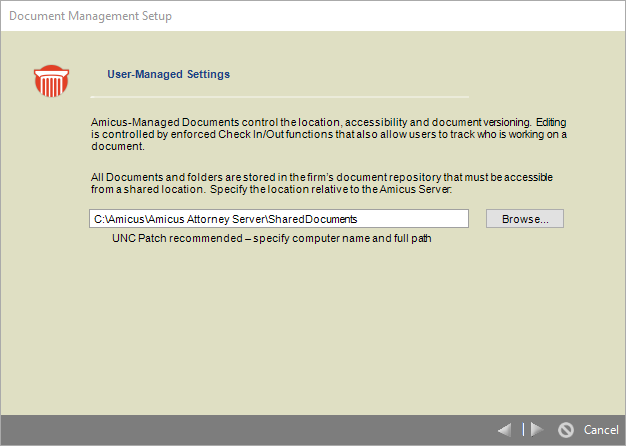
- Keep the default path or Browse to a new one.
- Click the Next arrow to display the following prompt:

- Click Yes to proceed.
Enabling and Disabling Worldox
Enabling Worldox
When a Firm decides to link directly with Worldox no document controls are necessary in Amicus Attorney.
-
To begin the process as the Firm Administrator go to Administration > Firm Settings and select Management under the Documents heading. A Firm Settings - Documents - Location dialog displays.
-
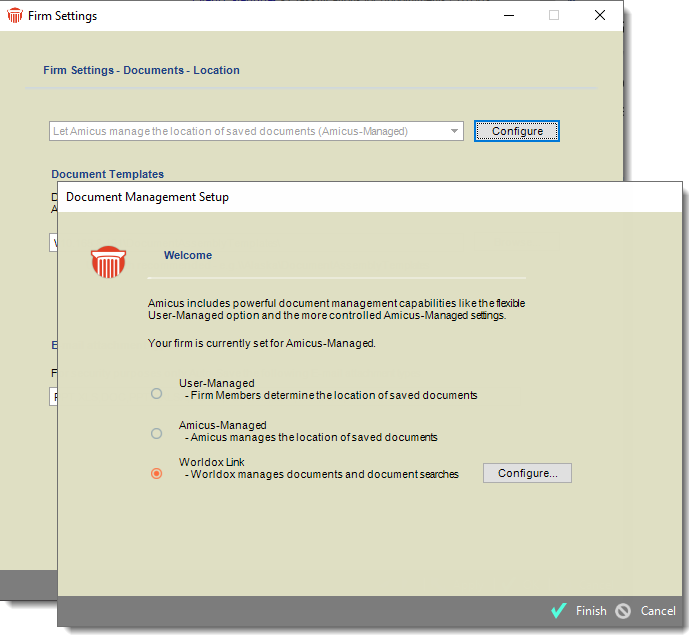
Click the Configure button beside the first field to launch a setup wizard.
-
When the Worldox Link radio button is selected a Configure button appears and the next arrow changes to Finish. This is disabled until the wizard is completed and you are returned to the Document Management Setup screen.
-
Click Finish to close the wizard.
Disabling Worldox
Select either User-Managed or Amicus-Managed to disable Worldox. No actual documents are moved and documents are not copied out of Worldox.
Related Topics
