Getting Started > Creating a NEW Security Profile
 Creating a NEW Security Profile
Using the Billing Security profiles a firm can control a Firm Member’s access to billing functions and financial activities within Amicus Billing.
 |
Note: A Firm Member must be an Amicus Administrator to set, edit and create Security Profiles. |
To create a NEW Billing Security Profile:
- Click Office > Security Profiles to display the Security Profiles dialog which shows the modules this current Billing User can access. Each of these modules has a selection panel to further control access to specific features of each module.

-
All NEW Billing Security Profiles begin with the default Billing User profile template.
-
Click Copy if you wish to use the existing profile as a base for the new profile. Otherwise, click New.
-
The checkboxes on the right-hand side of the Dailies, Trust and Billing modules become deselected as this is the default for the Billing User profile.
-
Disabling a module in a Security Profile means it is hidden from Firm Members assigned to the profile.
-
Complete the following fields:
-
Enter a name in the Profile textbox. In our example we will enter Billing Clerk.
-
Enter a Description in the textbox below the name of the new security profile.
-
-
As Firm Members with the Billing Clerk security profile may need access to the Dailies and Billing modules, select the checkbox next to these modules, but leave the checkbox next to the Trust module disabled.
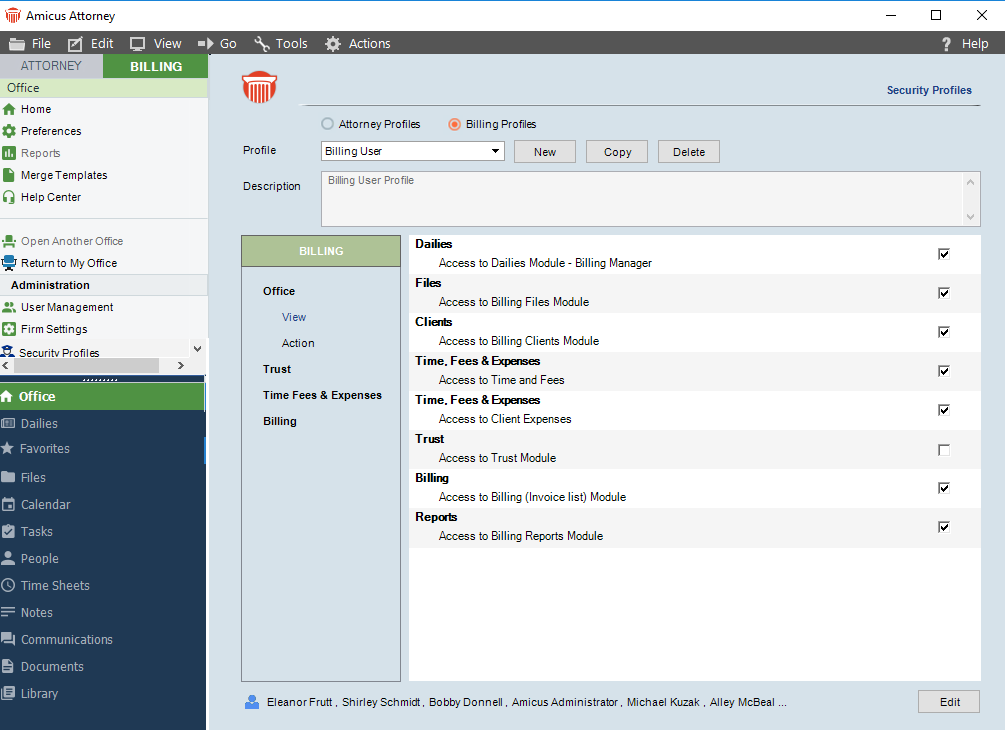
Firm members assigned the Billing Clerk security profile will have access to the Billing and Dailies modules, but they will be restricted from accessing the Trust module.
As on the Attorney side, only Timekeepers can track their time and be mapped to QuickBooks for information exchanges via the Link. See the "QuickBooks Link" available from the Amicus Help Center and the Amicus Attorney Technical Resource Guides/Updates section of our website.
Control further access
To further control access to specific features of the Billing module.
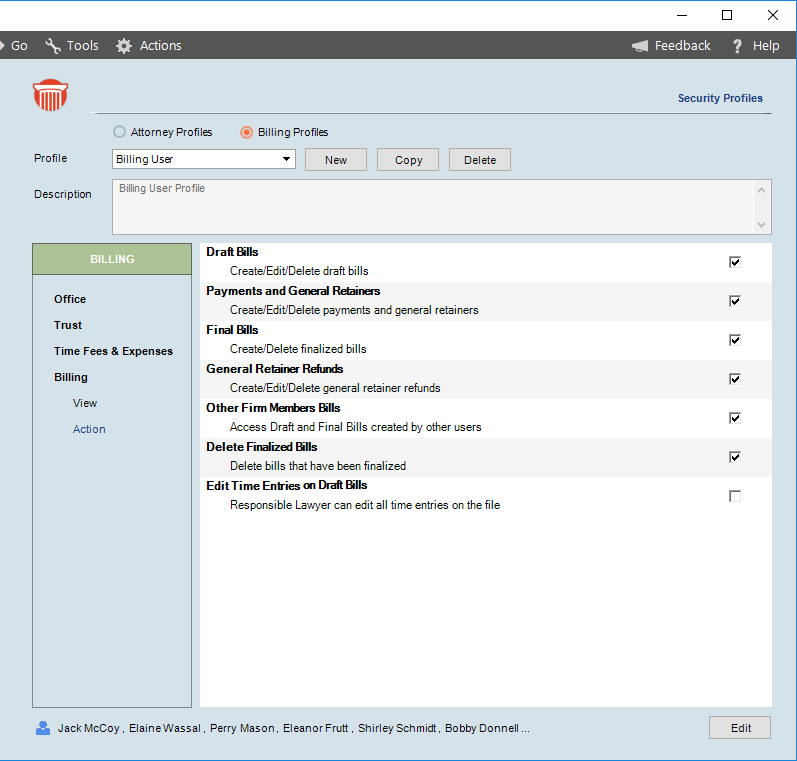
- Click Billing > Action from the navigation pane to display a selection panel.
-
Click Edit and select Edit Time Entries on Draft Bills from the panel.
-
The Edit button toggles to Cancel and Save. Click Save to allow the responsible lawyer to edit all time entries on the file.
-
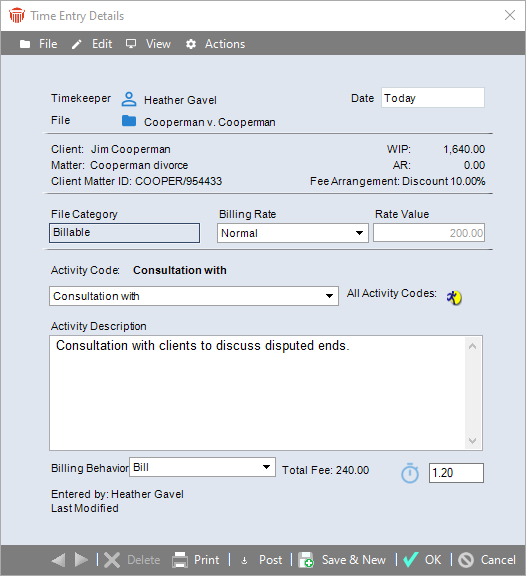
When this option is set on a Billing Security profile, the responsible lawyer is presented with the Time Entry Details where changes can be made on any of the available fields when the file is in the draft.
|
Note: In the draft, a user is able to open the time entry by double-clicking on the time entry from the Fee tab or from the Print Preview. |
Related topics:
