APX (Abacus Payment Exchange) > How to set up APX
 How to set up APX

Learn by Video – Setting up APX
To begin the Onboarding process:
- Go to the Firm Settings window.
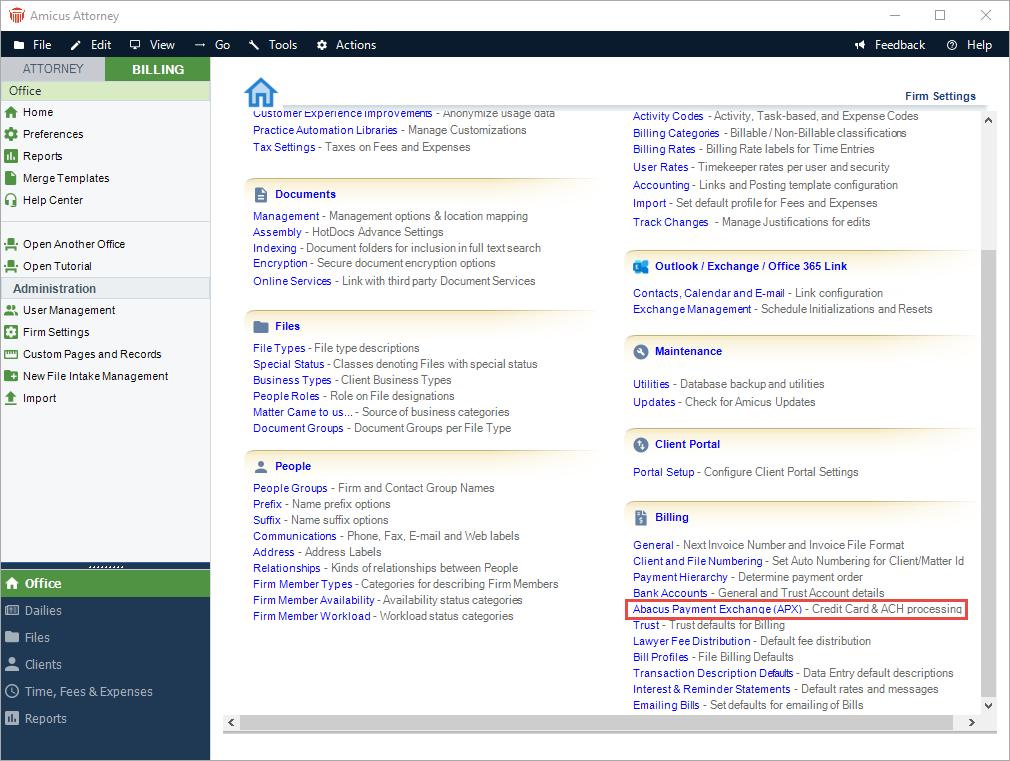
- Click Abacus Payment Exchange (APX) under the Billing heading to display the Billing - Abacus Data Exchange (APX) screen.
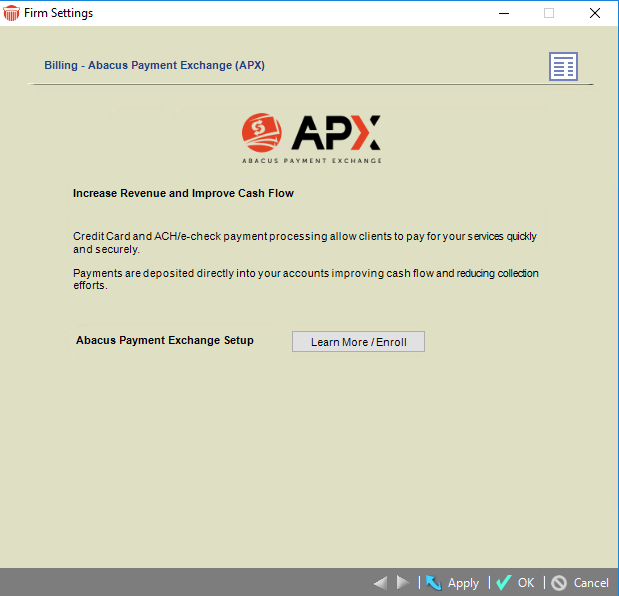
- Click the Learn More / Enroll button to display the first screen of the Onboarding wizard.
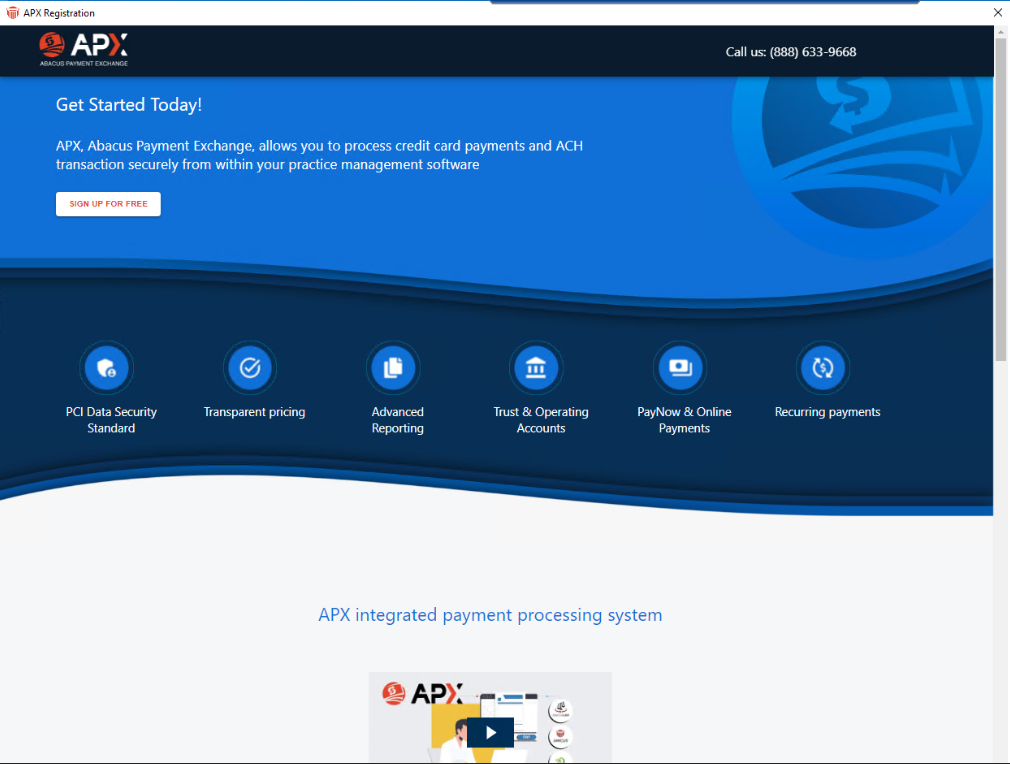
- Click LEARN MORE ABOUT APX or the video Start Button
 to watch a short video about the APX integrated payment processing system.
 - Click SIGN UP FOR FREE to begin the Onboarding wizard. The first step, About the Business section displays. Some of the fields are populated with information retrieved from the client contact card. Scroll down and click in the fields to edit or enter new information.
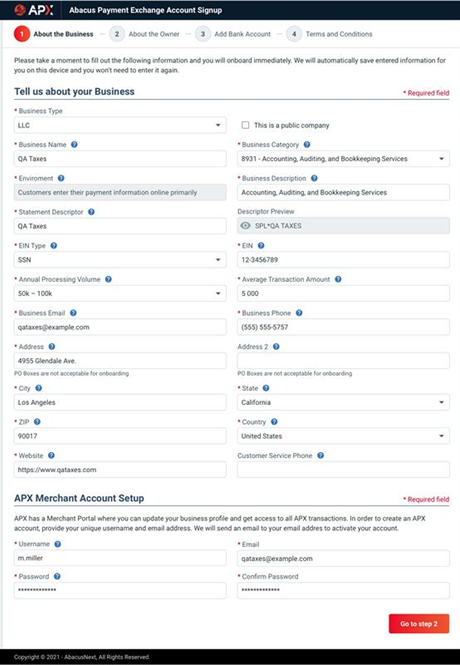
- Click the Help
 icon to display information about the field.
 - Click the down
 arrow to select an option from the drop-down menu that displays.
 - Fields with an asterick * are Required.
- Click the Help
- Click Go to step 2 to move to the About the Owner section in the wizard.
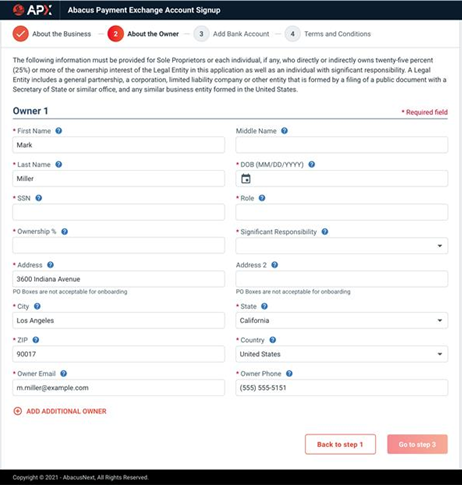
- Click in the fields to enter or edit new information about Owner 1.
- Click ADD ADDITIONAL OWNER to add multiple owners and complete the fields.
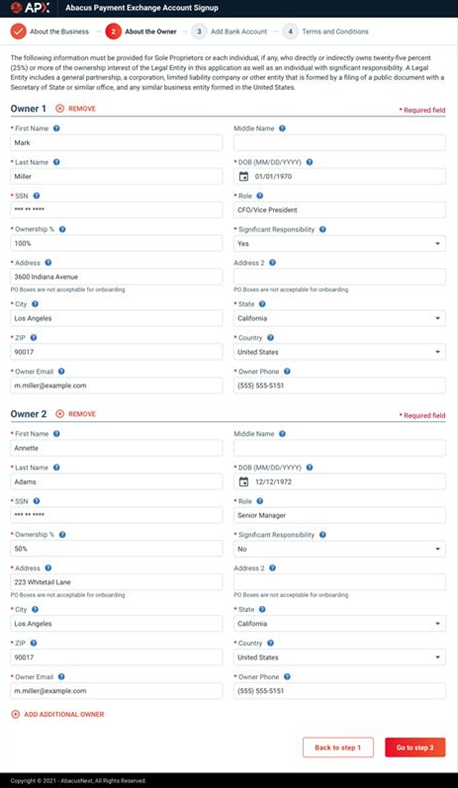
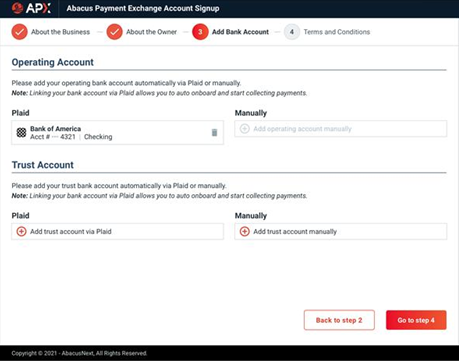
- Click Go to step 3 to display the Add Bank Account section.
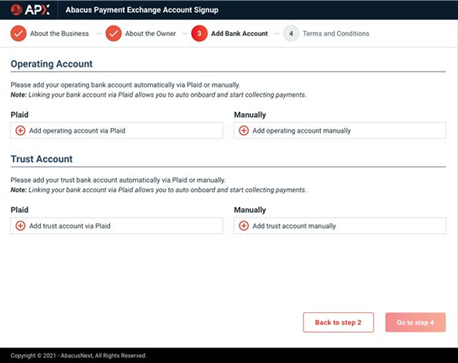
- Click the
 icon under the Plaid fields to Add accounts via Plaid for the Operating and Trust Accounts.
 - Or, click the icon under the Manually fields to Add accounts manually for these accounts.

Plaid is a technology platform that allows you to securely connect to your financial institution in seconds.
- Click the
- If you use Plaid to link to your bank the following screen displays.
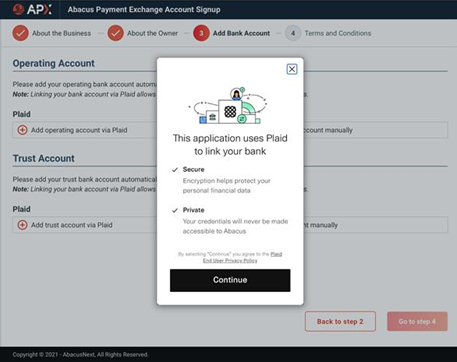
- Click Continue to add a bank account.
- A prompt displays informing you that a Bank account has been successfully added!
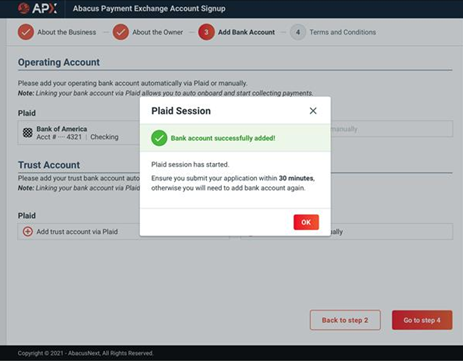
- Click OK. The bank account is added to the appropriate field under Plaid.
- If you choose to add your bank account Manually, the following dialog displays.
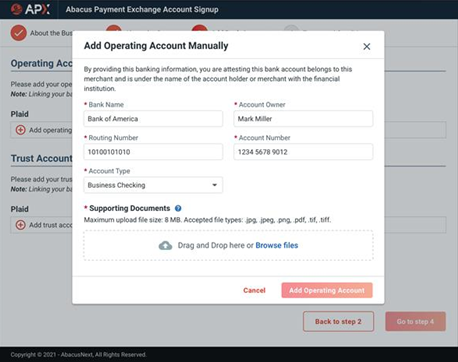
- Complete the fields, drag and drop or browse to add Supporting Documents in the last field.
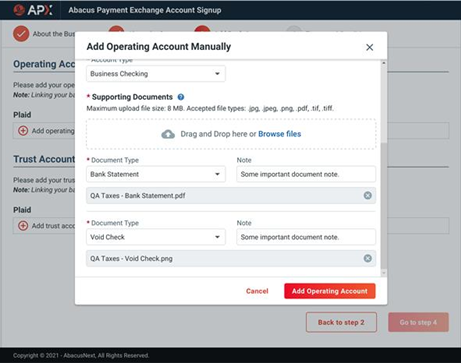
- Click Add Operating Account when you are finished. The account displays under the Manually field.
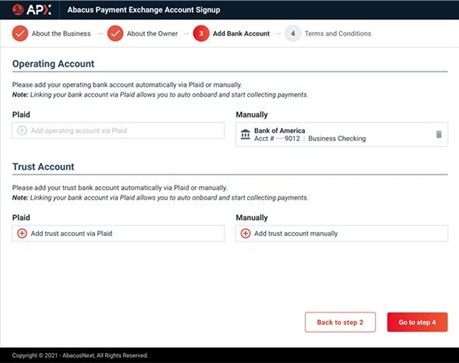
- Click Go to step 4 to display the Terms and Conditions section.
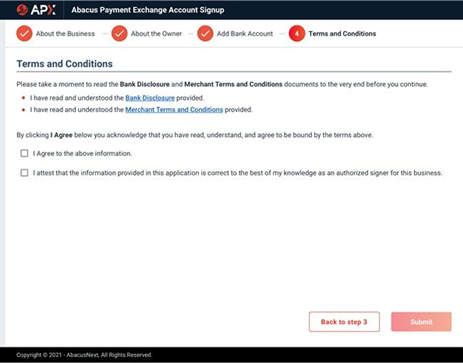
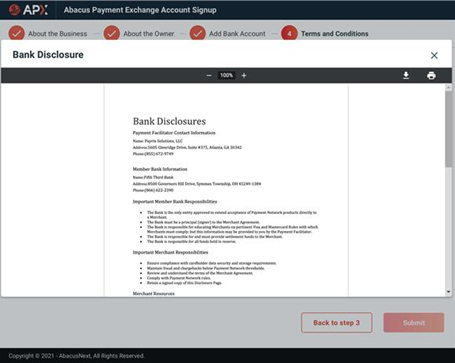
- Click the Bank Disclosures link to display the following screen.
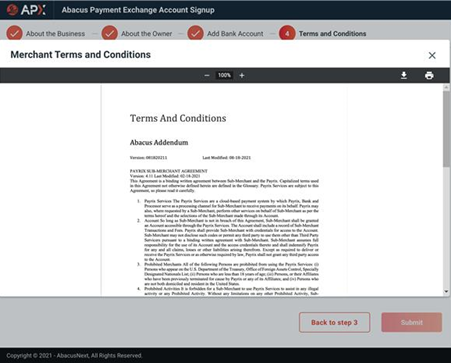
- Click the Merchant Terms and Conditions link to display the following screen.
- Return to the Terms and Conditions screen and click the I Agree checkboxes to acknowledge that you have read, understood, and agree to the terms outlined in the screens.
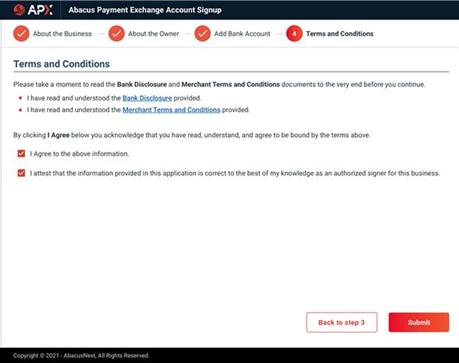
- Click Submit to complete your APX Application.

- Click Book a training session or return to the Firm Settings screen.
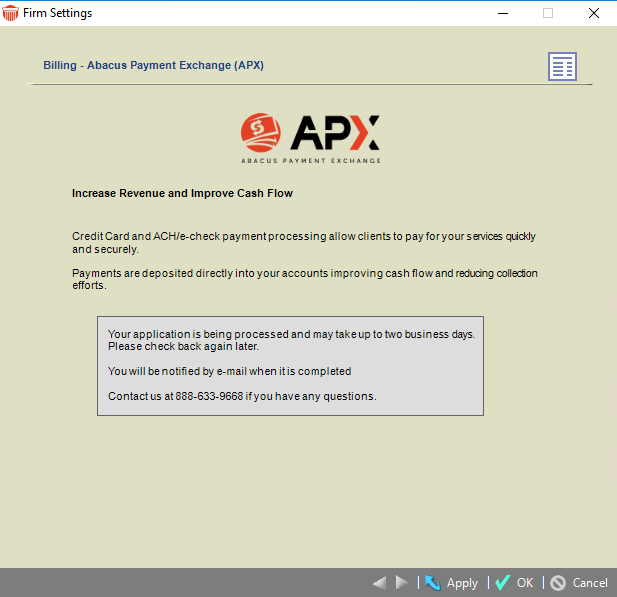
- You will receive Email Notification Approval. This may take up to 2 business days.
Related Topics