Sharing Practice Information > via the Client Portal > Inviting a Client to the Portal
 Sharing Files and Items with Clients
The Client Portal can provide Clients with access to particular Files, Invoices and to shared Documents, Notes, Events, and Custom Fields on those Files.
 Learn by Video – Client Portal Overview
This topic covers:
Sharing Files to a Client
From a Client's Contact Details dialog, click the Portal button and:
-
Select one or more of their Files to share with them. Only Open, non-Restricted Files are listed. A prompt gives you the opportunity of notifying the Client by e-mail.
-
Or clear the Files you want to stop sharing with the Client.
Sharing a File to Clients
From the File Details dialog for an Open, non-Restricted File, click the Portal button and:
-
Select one or more of the File's Clients to share it with. Only non-Restricted Clients are listed. If a Client already has access to the Portal, a prompt gives you the opportunity of notifying the Client of this change by e-mail.
-
Or clear the Clients you want to stop sharing the File with.
Sharing Documents, Notes, or Events on a File
From the item's Details dialog, ensure that it's associated with a single File and is not Restricted. It doesn't matter whether a Client is explicitly assigned to the item. Items will become accessible to a Client once the File is shared to the Client. If the File is later unshared, the items are no longer accessible to the Client.
Share an item by simply right-clicking on it in the corresponding view of File Details, and choose "Share in Client Portal".
Or, click the Portal button on the toolbar in the item details.


-
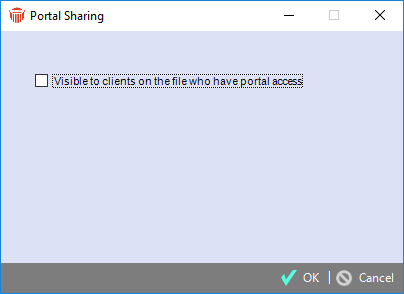
Select the "Visible" option—when the File is shared to a Client, the Client will be able to view this Document from their Portal.
-
Or clear the option to stop sharing the Document.
 |
Tips:
|
Sharing Custom Fields on a File
All or some of the Custom Fields on the Custom Pages for each File Type can be made shareable.
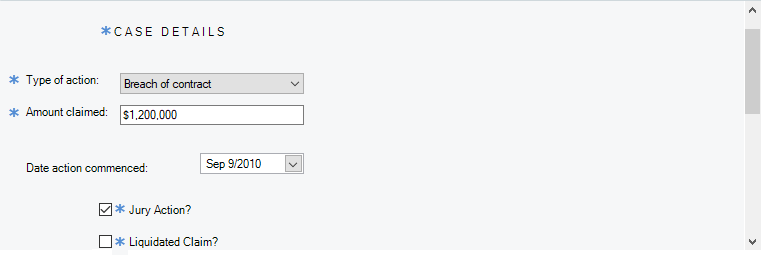
In the Custom Page views, asterisks mark the Custom Fields that are shared.

To share Custom Fields on a File, click the Portal icon at the top of any Custom Page view.

 |
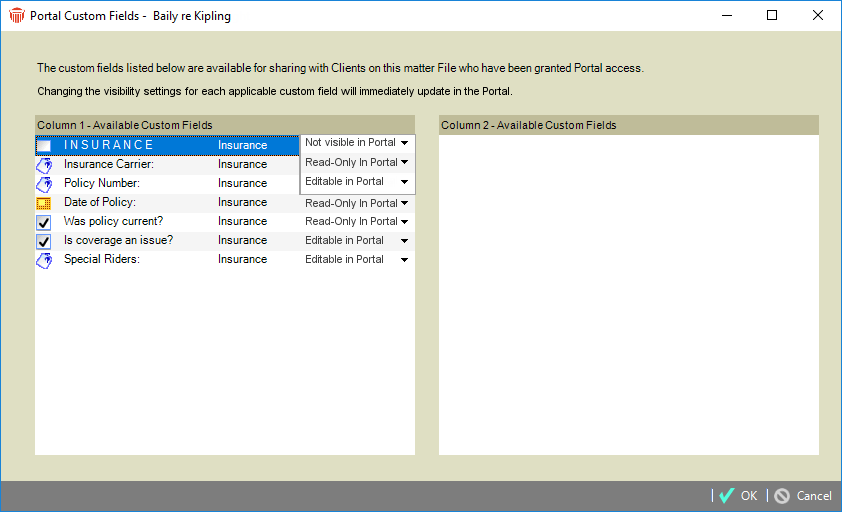
Note: Shared fields in the Client Portal can be changed at any time from Not visible in Portal to Read-Only in Portal to Editable in Portal by selecting another option from the Pull-down menu in the Available Custom Fields column. |
The Portal Custom Fields dialog that displays lists all custom fields available for sharing with clients on the matter File who have been granted Portal access.
When the File is shared, the Clients with Portal access to it will be able to see and edit these shared Custom Fields—in the two-column More view of File Details in the Portal.
To change the visibility settings select an option from the pull-down menu on the right-hand side.

 |
Note: Lookup and Graphic type Custom Fields are not editable by Clients. |
Viewing a list of items shared to Clients on a File
A convenient File Details view lists all its items that are marked for sharing.
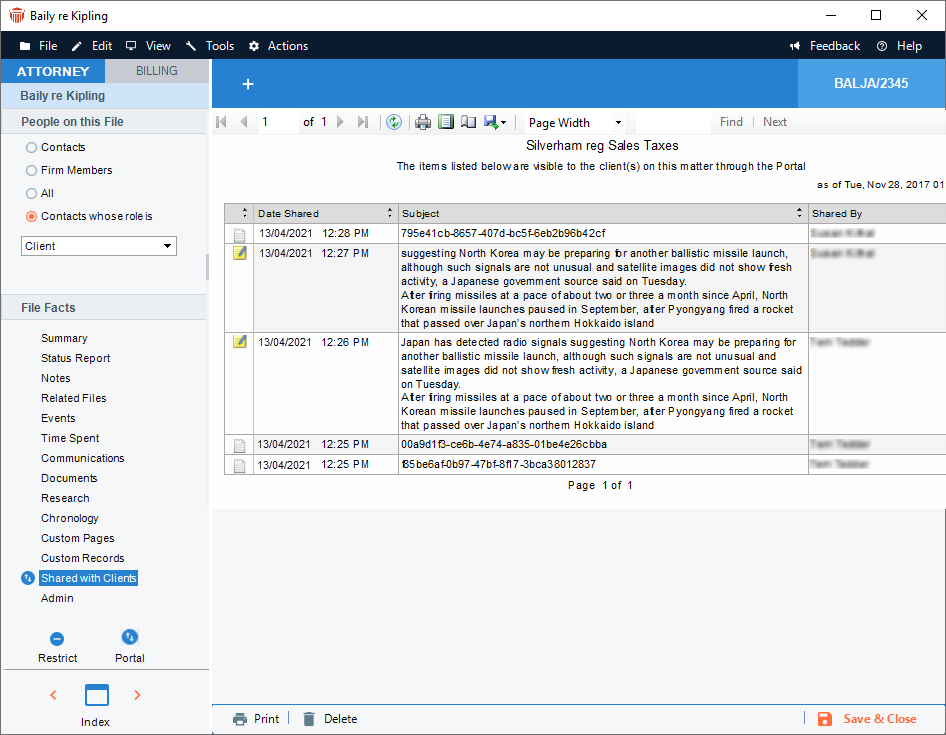
Open the File Details window and choose the Shared with Clients brad view.

Documents, Notes, and Events on the File that have been shared are listed, provided that they are items you have access to. Exposed Custom Fields are also listed.
Items are listed regardless of whether the File itself is currently shared to its Clients. They will see these items only if the File is subsequently set to be shared.
This view is available only if SQL Reporting Services has been installed and configured for the firm by your Amicus Administrator, and the Client Portal is enabled for the firm.
To open the details of any item, for viewing or editing, click on the item.
To sort the list, click the corresponding column heading.
Use the list toolbar to:
-
Navigate between pages
-
Search the list—enter your text and click Find
-
Refresh the information shown (regenerate the report)
-
Print the list
-
Preview the print layout
-
Change the page setup (portrait/landscape, margins, etc.)
-
Export to PDF, Word, Excel, or other format
-
Change the zoom
Shared items report
The All Client Portal Shared Records - Selected File can also be run from Office > Reports > Client Portal.
Related Topics
