Amicus-Managed > Virtual Folders
 Virtual Folders
All APC (Abacus Private Cloud) users must turn on Amicus-managed documents. Virtual folders are not visible for User-managed documents.
This topic covers:
Viewing Documents in Folder View
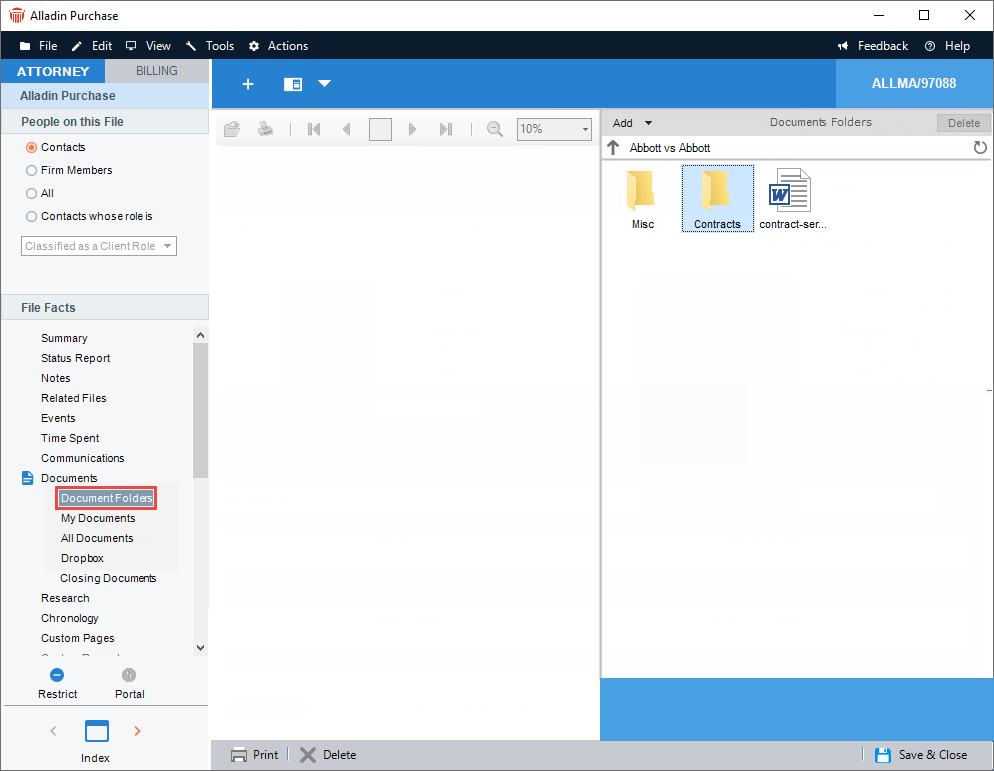
After moving to Amicus-Managed, a Document Folders option displays in the navigation pane on the left side of a main brad page.
-
You can also right-click within the brad page to display a shortcut menu with the Document Folders option.
-
The Folder view has a border separating it from the preview pane on the left and the breadcrumbs at the top.
Viewing Restrictions
The Folder view displays folders and document records based on your access rights. Document records are not visible to you in the if they have security restrictions and are not visible to you in the Details view,
For example, if you have a Security Profile set to view All Documents, all documents for the Firm are visible in the Folder view.
If you do not have permission to view All Documents, only your documents appear in the Folder view, the same as My Documents view.
Editing Restrictions
A document that has edit restrictions and cannot be edited or deleted in the Details view, is also uneditable in the Folder view.
Deleting a Folder
Use the move controls to consolidate documents.
If you attempt to delete a folder and its contents the following prompt displays:
 |
WARNING! Are you sure you wish to delete the folder and all of its contents on this file? Note: This will delete all versions of any documents found in the folder or sub-folder on this file. |
Click OK to close the prompt and delete the items.
There is no impact to any document records that are listed on other matters.
Deleting a Folder without full access
You cannot delete documents in a file that you are restricted from viewing or editing.
If you attempt to delete a folder that you are restricted from viewing or editing the following prompt displays:
If you attempt to delete a folder and its contents the following prompt displays:
 |
WARNING! One or more documents could not be deleted because you lack edit permissions. |
Click OK to close the prompt. The contents of the folders are deleted, except for the documents you are restricted from editing.
Automatically show the Folder View when a matter is opened
To set your preferences so that the new Document Folders view is opened whenever a matter is open:
-
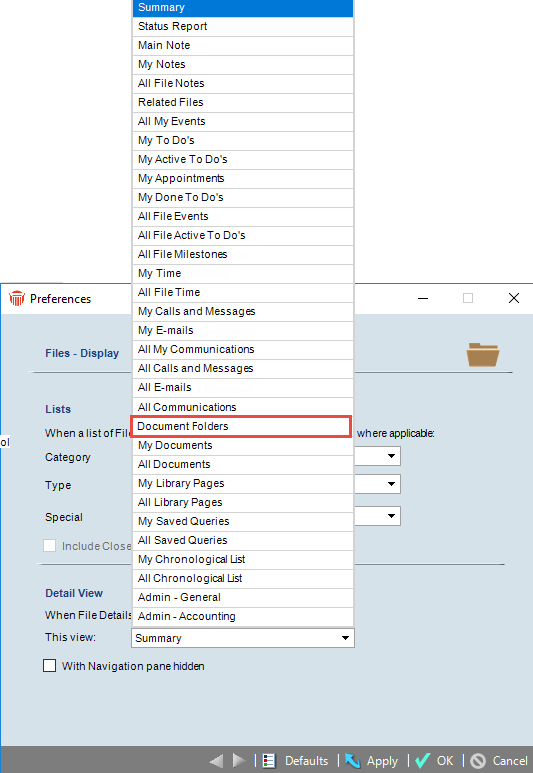
Go to Office > Preferences and click Display under the Files heading to display the Preferences dialog.
-
Select Document Folders from the list in This view: field in the Detail View section.
Adding Documents and Folders
-
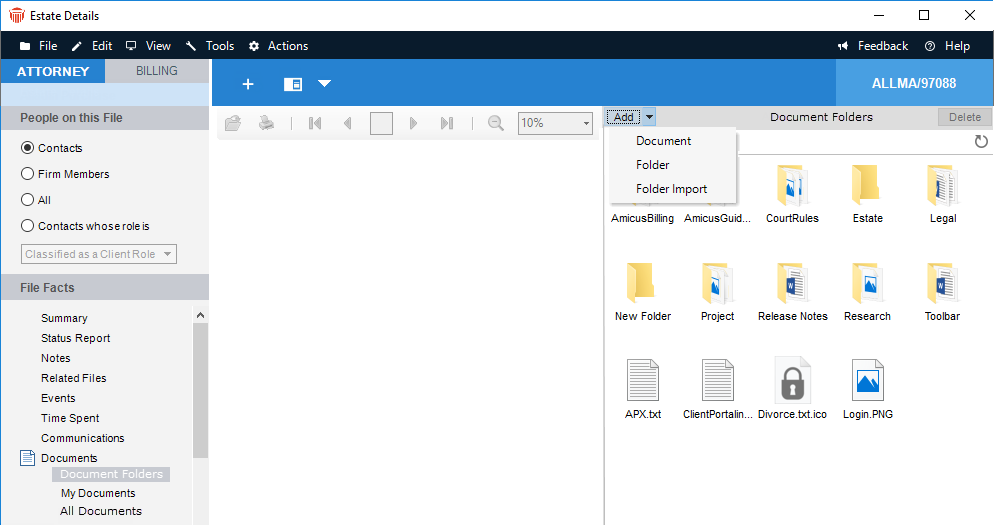
Open the Files Details and select Documents from the navigation pane to expand the options. In this example we selected Document Folders.
-
A split screen displays with Document Folders related to the file in the right column.
-
-
Click the Add button at the top and select one of the following options from the dropdown menu:
-
Document – Opens a Select File window for ease in finding a document and uploading it.
-
Folder – Creates a virtual folder in Amicus Attorney.
-
Folder Import – Displays a Browse for Folder window where local folders can be selected or you can Make a new Folder
-
-
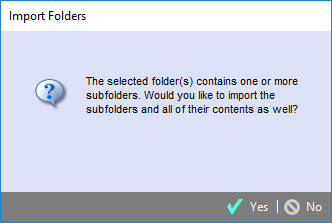
Locate the folder to import and the following prompt displays:
-
Click Yes to create:
-
Document records for all items in the root folder
-
New folders for all of the subfolders
-
Document reccords for each of the items in the subfolders. There is no limit to the number of subfolders to be included.
-
-
Click No to create document records for the items in the root folder
-
Volume Protection – To prevent the accidental upload of a large number of subfolders and documents a warning prompt displays.
-
Drag and Drop
The drag and drop functionality continues to work in virtual folders. Documents or folders can be dragged from the desktop and placed directly into the currently selected folder. Any time multiple items are dragged into Amicus Attorney the document details are created, but they do not open by default.
Folder Breadcrumbs
Breadcrumbs at the top of a screen help you navigate through documents and folders. By default a folder with the name of the file is displayed. This is the root of the matter.
You can go higher up the tree or drill down through an unlimited number of subfolders.
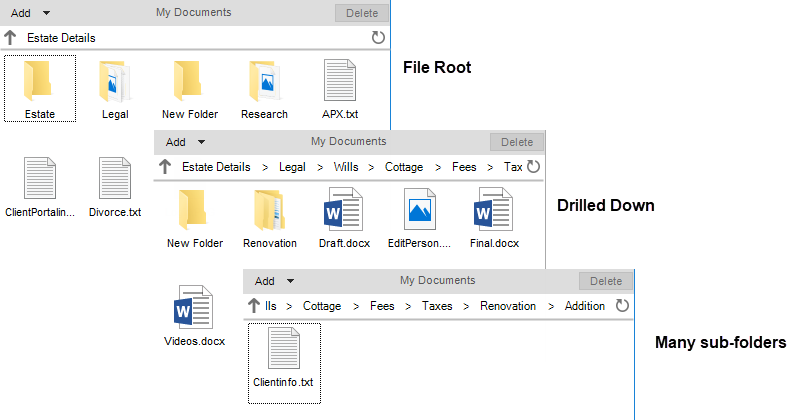
Text shifts so that details may begin to be cut off. You can still click on any visible breadcrumbs to move up. You can also click the UP arrow on the left of the control to move up the list.
If a folder name is truncated a tooltip appears on a mouse-over to show the complete name.
Refreshing the list
Click the refresh icon to the right of the breadcrumbs to update the list in case changes have been made since it was last reviewed.
Right-clicking in the list displays menu options:
-
Open– Displays the document details
-
View – Opens the actual document from the temporary file, but does not check it out
-
Cut – Copies the document to a clipboard
-
Paste – Moves the selected clipboard items to the new location
-
Delete (on the document) – Displays a strong warning before deleting the document record and profile from all matters
-
Delete (on the folder) – Displays a strong warning about deleting the folder and all its contents
Deleting a Document
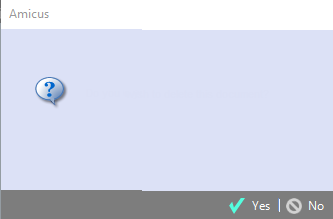
If you attempt to delete a document record a prompt displays a strong warning about how all versions of the document will be deleted.
 |
Note: This also deletes the document even from matters that the current user doesn't have access to. |
Deleting a Folder
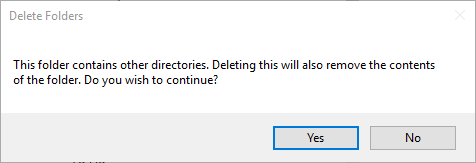
If you attempt to delete a folder a prompt displays a strong warning about how the folder and all of its contents will be deleted.
 |
Note: This deletes all versions of any documents found in the folder or sub-folder on this file. |
If you wish to review the PDF or Word Document (etc.) that has been added to a file you can continue to use the preview pane to show the document details.
You also have the following options to open the contents:
-
Double-click on the document – Prompts you for the folder location and checks the document out (different from details view)
-
Select the document and press Enter – Prompts for folder location and checks documents out (different from details view)
-
Right-click and select Check Out – Prompts for folder location and checks document out
-
Right-click and select Open – Opens the document record only
-
Right-click and select View – Opens the document from a temporary location and does not save changes
Checking out a Document
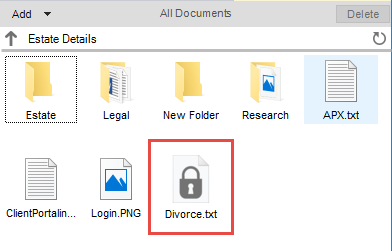
You can easily tell from the details view if a document has been checked out from the grid. You will also see a padlock on an image if a document has been checked out in the large icons view.
Setting a Default Path
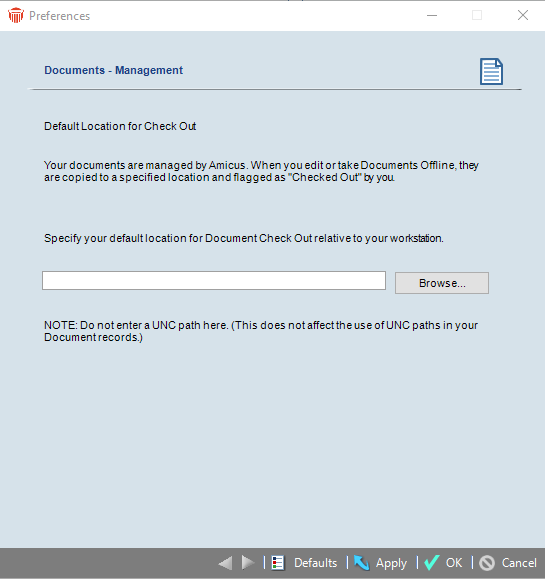
Each Firm Member can set a default path for where documents are downloaded during the checking out process after they have enabled Amicus-managed.
-
To set a default path click Firm Settings and select Management under the Documents heading. A Documents - Management dialog displays.
-
Enter a default location in the field provided or Browse... to a location.
-
Click OK to complete the process.
Related Topics
