Customizing the Database > Customizing lists
 Customizing lists
You can customize the choices available within many of the lists that are provided to users throughout Amicus. Some list items cannot be removed and/or edited as they are integral to the underlying business rule logic of Amicus.
-
To customize a list, go to Office > Firm Settings and choose the settings you want.
-
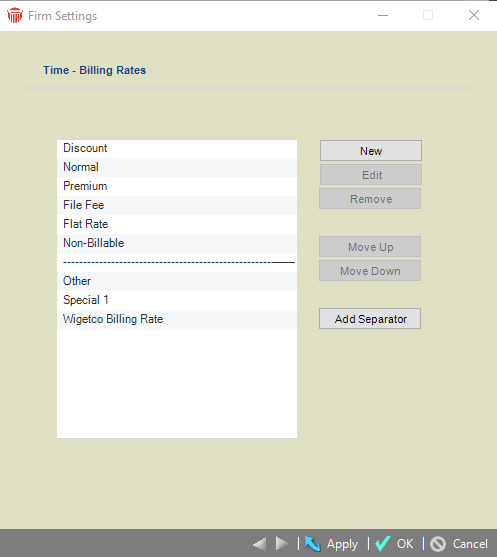
The appropriate view appears in the File Settings dialog. For example, in the Billing Rate Labels view, the current list of Billing Rate Labels is shown.

-
In the view, you can add, modify, delete, or change the position of most items. Some items are required and cannot be modified.
 |
Important: Adding or removing File Types, Billing Rates, Activity Codes, Task Codes, User Rates, and Expense Codes may affect your accounting link configuration settings. You must review your accounting link setup after making changes in order to maintain valid mappings. |
Adding an Item
To add an item, select the item below where you want the new item added, and then click New. Type the name of the item, and then click Apply.
Modifying an Item
To modify an item, select the item in the list, and then click Edit. Make the desired changes, and then click Apply.
Deleting an Item
To delete an item, select the item in the list, and then click Remove. Items cannot be deleted if they are currently assigned to any Amicus records.
Changing the position of an Item
To change the position of an item, select the item you want to move, and then click Move Up or Move Down until the item is in the desired position.
Adding, moving, and deleting separators
To add a visual separator line in a list, select the item below where you want the separator to be inserted, and then click Add Separator. You can select the separator and move it up or down or delete it the same way you do for list items.
Related Topics
