Sharing Practice Information > via the Client Portal > Inviting a Client to the Portal
 Inviting a Client to the Portal
This topic covers:
Inviting a Client
To invite a client to the Client Portal open the Client's Details dialog and ensure that the Client has a unique Primary Email Address as it will be used as part of their login credentials.
-
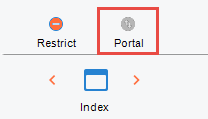
Click the Portal button, near the bottom of the Control Panel.
-
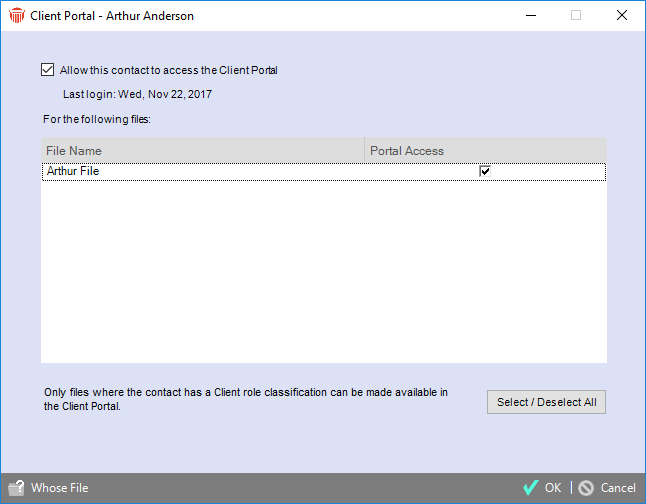
Select the Allow... checkbox.
-
Files that the Contact has a Client-classified Role on are listed. Select one or more to share them with the Client now, if you like. Your selections can be changed later if necessary.
-
Files that you don't have access to are shown in grey—you can't share them with the Client, but you can click Whose File to find out their Responsible Lawyers. See Whose File Is It? searching.
-
If Documents are User-Managed at your firm, Files that don't have a valid default documents path set are shown in grey and cannot be shared. For setting the path, see Setting a default location for Documents on a File.
-
Closed Files and Restricted Files are not listed and not sharable.
-
-
Click Send Invitation. This creates an e-mail to the Client that opens in your default e-mail application. The e-mail contains a link that will allow the Client to set up their Portal access and login.
-
Optionally, edit the e-mail before sending it. The invitation will enable only one person to set up Portal access, even if you send the e-mail to multiple people. The invitation expires after 1 week.
-
Client receives the invitation, sets up their access, and logs in
-
When the Client clicks the link provided in the invitation e-mail, they are asked to enter the password they want to use for logging in to the Portal.
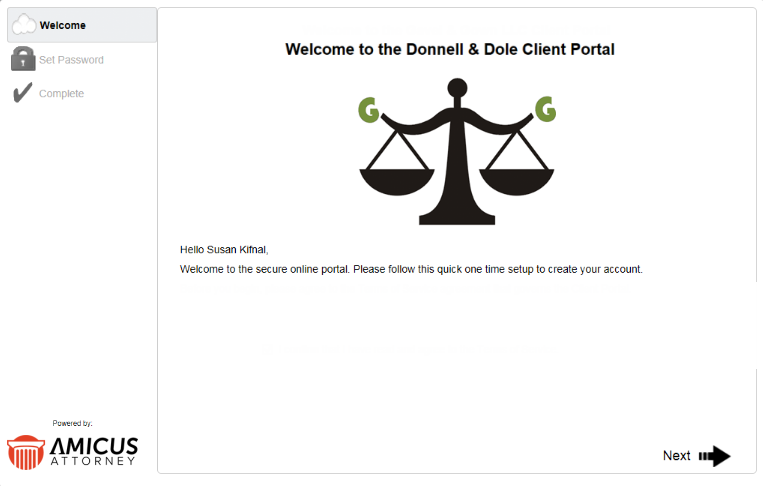
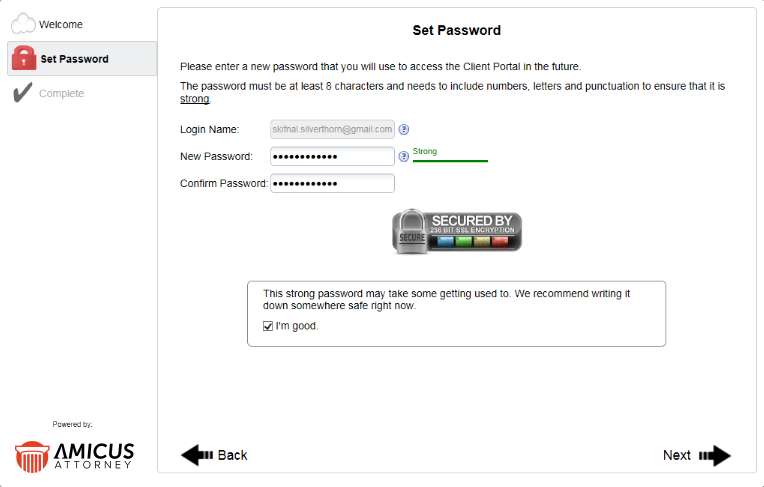
Upon completion, the Client will receive a confirmation e-mail with their login credentials. A notification e-mail is also sent to the Responsible Lawyer on each of the Files that were shared. -
At the Account Created screen, the Client can click Login if they like.
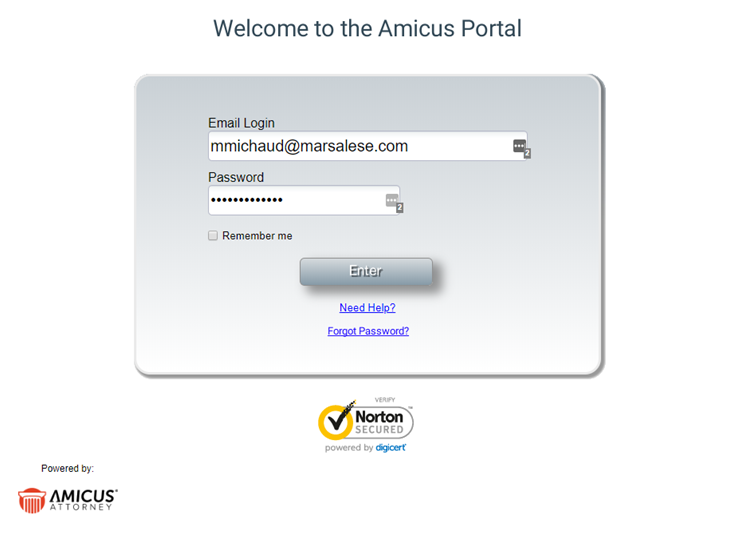
Subsequently, they will need to login at www.amicusanywhere.com/portal using their Primary Email Address as their Email Login and enter their Password.
-
If a client selects the Remember Me checkbox the fields are populated the next time they log into the Client Portal.
-
Clicking Enter displays the Home window.
-
Click Need Help? displays an email addressed to Support@getcaret.com
-
If a client forgets their Client Portal password they can reset it by clicking Forgot Password? and entering their Email Login in the dialog that displays, after selecting Submit a password reset email is sent to their inbox.
-
The client can click on the URL provided in the email and enter a new Password.
-
Email Notifications in the Client Portal
Clients invited to the Client Portal can opt in/out of email notifications as items are shared by the firm.
From the Home window of the Client Portal select Options to display the My Profile dialog.
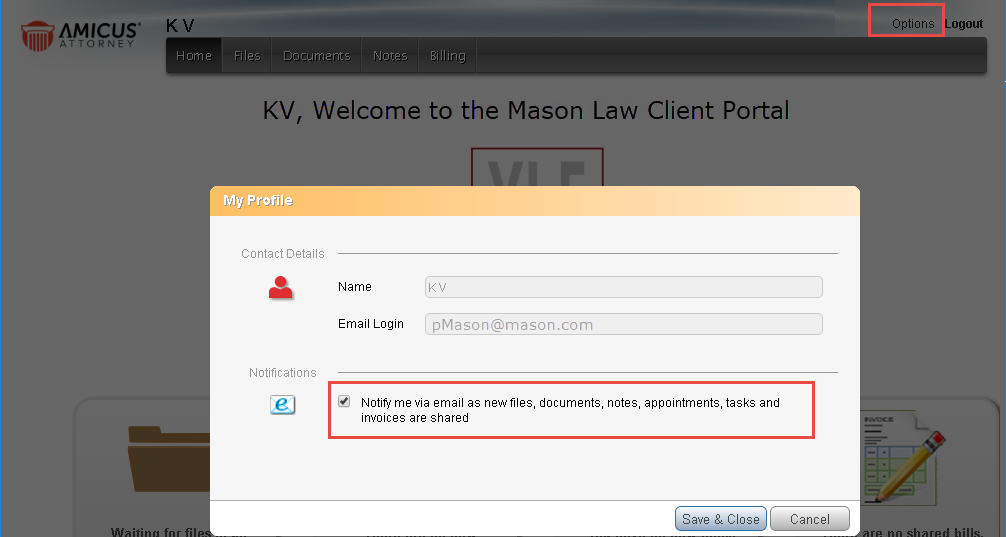
- Select the checkbox under Notifications to be notified via email as new files, documents, notes, appointments, tasks and invoices are shared or deselect the checkbox to opt out of being notified.
Related Topics
