Calendar > Working with Calendar Profiles > Creating a new Calendar Profile
 Creating a new Calendar Profile
To create a new Profile:
-
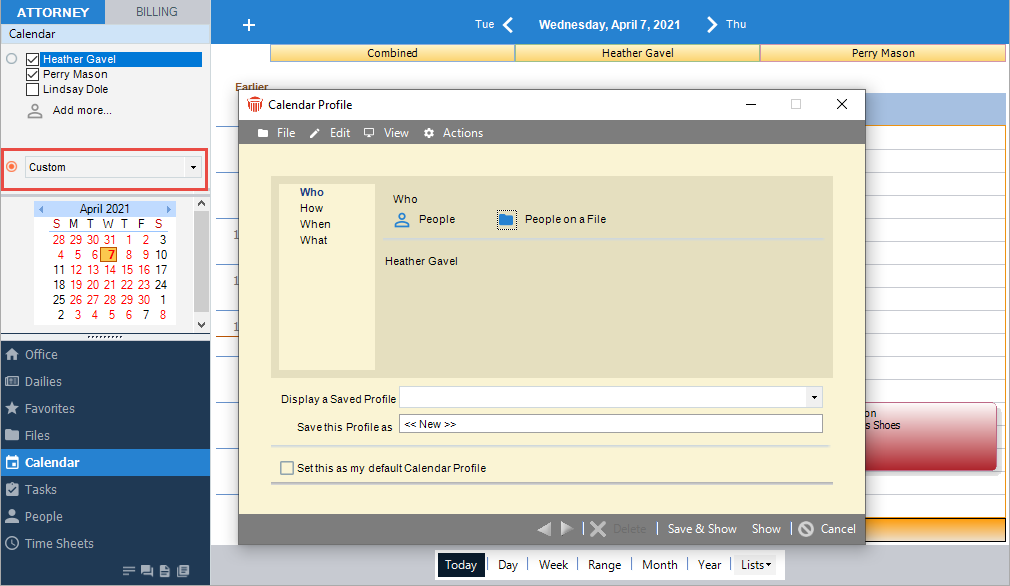
Select Custom in the Profiles list box next to the second option in the control panel. A new Calendar Profile dialog appears.
-
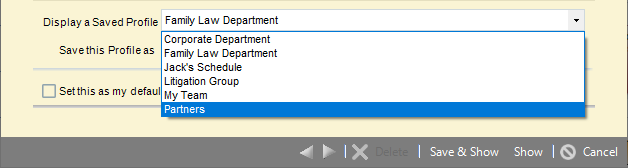
If you want to base the new Profile on a Saved one, select the name of that Profile in the Display A Saved Profile list box at the bottom of the dialog. The settings for that Saved Profile appear.
-
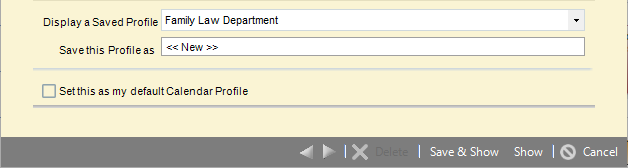
If you intend to save the Profile, type its name in the Save This Profile As box. If you intend to simply apply the Profile without saving it, you can leave << New >> in this box.
-
If you want this Profile to be your default one, select the Set This As My Default Calendar Profile checkbox at the bottom of the dialog. (If you intend to simply apply the Profile without saving it, do not select this checkbox.)
-
-
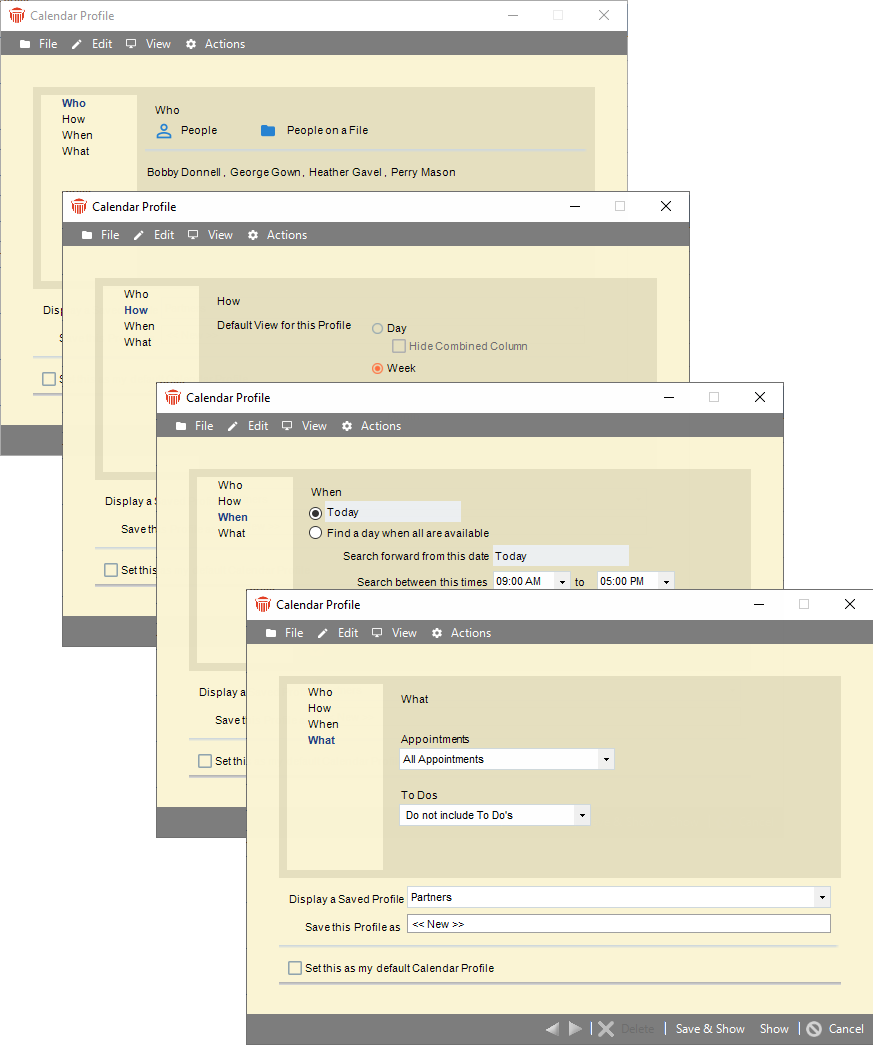
The dialog has four views: Who, How, When, and What. Go through each view and select your options. For details, see the following topics.
-
When you are done, you can do any of the following:
-
Click Show to apply the Profile without saving it first—do this for a temporary Profile
-
Click Save & Show to save the Profile and apply it
-
Click Cancel to simply close the dialog (ignoring any changes you made) and return to your previous Profile.
-
Related Topics