Documents > Completing the Document Details
 Completing the Document Details
Document Details provides basic information about a Document. When you attach a Document to a File or Person, the Document Details dialog generally appears, with some fields automatically filled in and available for further editing.
This topic covers:
Document Details
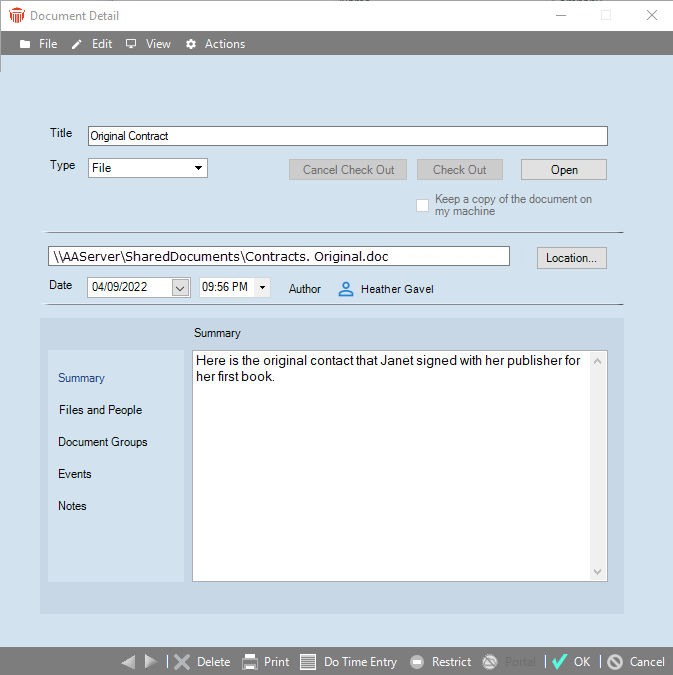
To open the Details dialog for an existing Document, double-click the Document in the list for a File or Person. Or, right-click and choose Open in the dropdown menu that displays.
-
If Documents are User-Managed:
-
If Documents are Amicus-Managed:
-
If the document is only associated with one file the Document is on one file field displays.
-
The textbox dropdown list is disabled until another file is associated with the document.
-
A Move button displays the Browse for Folder window allowing you to select a new location from the folders list or create a new folder location for the selected matter.
-
A document link displays below the Document field
Basic information is shown at the top of the dialog, and several views show more specific information. This information includes the Title and the other fields described below.
An additional view is available for tracking document versioning.
Type of document
Select the type of document in the Type list box:
-
File—a computer file—it could be a Word or WordPerfect document, a spreadsheet, a picture, a scanned document, or any other kind of file you can open on your computer.
-
Folder (User-Managed only)—a computer folder—useful if you have several computer files related to the File or Person, they are all in the same computer folder, and you do not want to attach all the individual documents.
-
Web Page/URL—a web page, FTP site, or any other Internet resource.
-
Other—a paper document or file, or other item that you wish to track and associate with a File or Person.
Location
The Location identifies the physical place the document is stored. This information is auto-filled when computer file documents are attached automatically or are added from outside Amicus. When attaching documents directly from the Document Details dialog:
-
If Documents are User-Managed — Although computer files and folders can be stored anywhere accessible to you (on your own workstation or your firm's computer network), we recommend that you store them in the Shared Document location on the firm's network, set up by your Amicus Administrator. Click Location, browse to the item, select it, and click Open. Or, type the place in the Location text box.
-
For shared documents, utilize the location format recommended by your Amicus Administrator.
-
If using a UNC path — Specify the computer name and full path. For example, enter \\Alaska\Data\Documents\filename.doc if the shared documents are in the \Data\Documents folder on the computer named Alaska.
-
If using a mapped drive — For example, specify K:\Retainers\filename.doc if the shared documents are in the the location that is mapped as the K drive on your workstation.
-
If Documents are Amicus-Managed—After the Document is saved the file is automatically copied to the Firm's Amicus-Managed Documents repository set up by your Amicus Administrator. The original is not deleted. A Move button displays beside the Document field. Click Move to move the document to another folder on the same matter.
Date and time
-
If Documents are User-Managed—Date defaults to the day the Document was added to Amicus. Edit it if desired.
-
If Documents are Amicus-Managed—The Last Modified Date and time fields are automatically set to the date and time of the current version.
Author
-
If Documents are User-Managed — Author defaults to the Firm Member who added the Document to Amicus. Edit it if desired.
-
If Documents are Amicus-Managed — The Current Author is automatically set to the Firm Member who added or checked in the current version.
Document Summary
The Document Summary briefly describes the document. You can perform text searches on what has been entered in this field using the Search or QuickFind functions.
Choose Summary on the navigation list of the Document Details dialog. The Summary view appears.
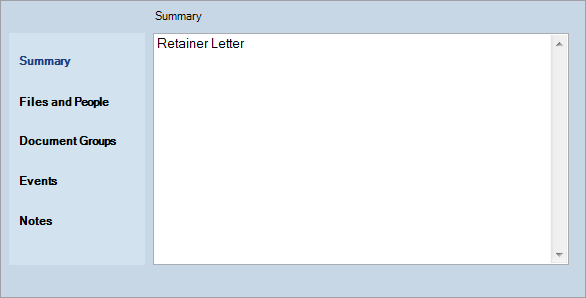
Type a description of the document in the large text box. If you wish, insert a Time Stamp or use Spell Check.
 |
Tip: The more detailed your Document Summary is, the easier it will be to find a given item in the future — even if you cannot remember the name of the File or Contact to which it is attached. |
Document Groups
If the Document is attached to a File, you can specify the Document Groups in which the Document should be included. This will help keep your material organized. If you assign a Document Group, then in File Details the Document will be listed in a list for that Document Group.
Choose Document Groups on the navigation list at the left of the Document Details dialog. The Document Groups view appears:
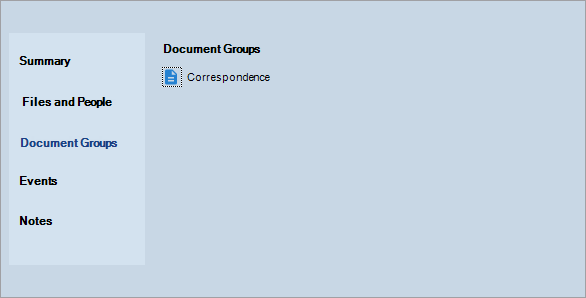
To edit the Document Group list, click the Document Groups button. The Select Document Groups dialog appears:
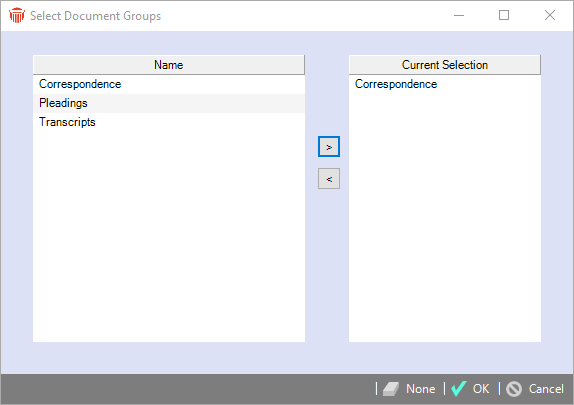
The Document Groups available for assignment depend on the File Type of the File to which the Document is currently attached.
To assign Document Groups, select them in the list at the left and click the > button. To remove Document Groups, select them in the list at the right and click the < button (or click None to remove all of them). When you are finished, click OK.
 |
Note: Document Group names can be customized for your firm. If you do not see the desired ones, ask your Amicus Administrator to add them. |
Associating a Document with Files, Firm Members, Contacts
To associate the Document with File(s), Firm Member(s), or Contact(s), choose Files and People on the navigation list of the Document Details dialog.

To edit the File association, click the Select Files button, and add or remove a File in the dialog that appears.
To edit the list of assigned Firm Members, click the blue Select People button, and then add or remove Firm Members in the dialog that appears.
To edit the list of assigned Contacts, click the green Select People button, and then add or remove Contacts in the dialog that appears. A Document may be associated with multiple Contacts.
Associating a Document with Events
Choose Events on the navigation list of the Document Details dialog.
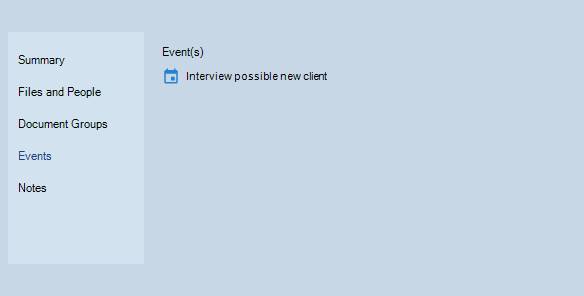
To edit the Event associations, click the Select Events button. The Select Events dialog appears:
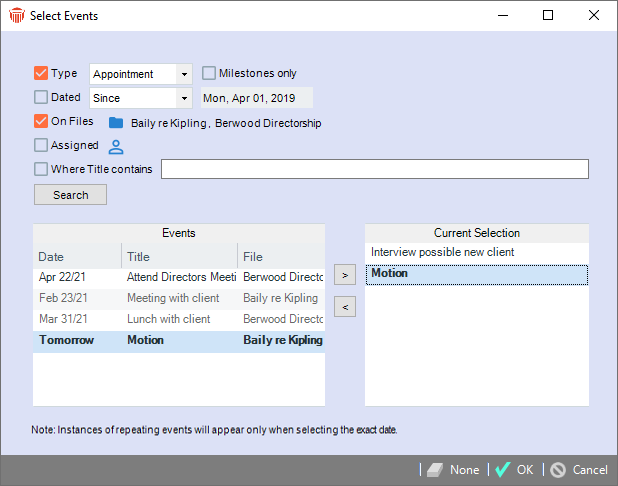
Two lists are shown in the dialog: at the left is the list of Events available for selection; at the right is the list of Events that are currently selected. The top section of the dialog enables you to filter the Event list.
Once added you can view the details of an associated Event by clicking the Event Title hyperlink in the Document Details.
Associating a Note with the Document
Choose Notes on the navigation list of the Document Details dialog.
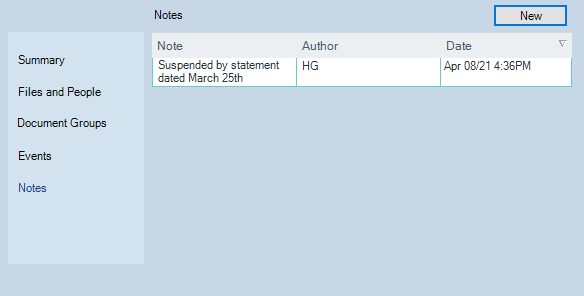
To add a new Note to the Document, click New above the list, or right-click on the list and choose New.
To view a Note's Details, right-click on the Note and choose Open.
Versions (Amicus-Managed)
In an Amicus-Managed environment, choose Versions on the navigation list of the Document Details dialog to view the versioning history and to work with previous versions. The Versions view is available for "File" Type Documents that have been assigned to a matter File.
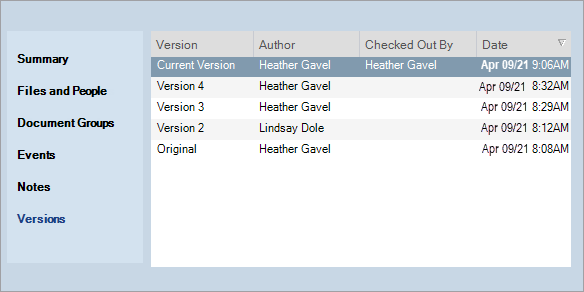
Both current and prior versions of a document are available for viewing and checking out by Firm Members. When a Document is checked out, the name of that user's name (Firm Member or Client) is shown for the version. When the checked out Document is checked back in, that document becomes the new current version, and the previous current version becomes a prior version added to the list.
Document versioning is not available for:
-
"File" Type Documents that are associated with Contacts only—these can be checked in and out but only the current version is maintained.
-
"Web Page/URL", "Other" and Dropbox Documents.
Sharing a Document with Clients
If the Client Portal feature is enabled at your firm, a Document may be shared with Clients on the Document's File. And Clients may add new Documents to the Files they have access to. See Sharing information via the Client Portal.
In an Amicus-Managed environment, Clients can check the current version of Documents out and in, and can see the Versions view. The Responsible Lawyer (and optionally other Firm Members) on the File will be alerted when Clients check in Documents, the same as when Clients add new Documents.
Restricting access to a Document
To restrict a Document, click the Restrict button at the bottom of the Document Details dialog. Select the desired options in the Restrictions dialog that appears, and click OK. The Restrict button turns red.
To unrestrict a Document, click the Restrict button. Clear the options in the Restrictions dialog that appears, and click OK. The no-entry image on the Restrict button turns black with a white "R".
For more information, see Setting record access restrictions.
Related Topics
