Calendar > Working with existing Events
 Working with existing Events
You can work with existing Events in various ways.
This topic covers:
Viewing or changing the details
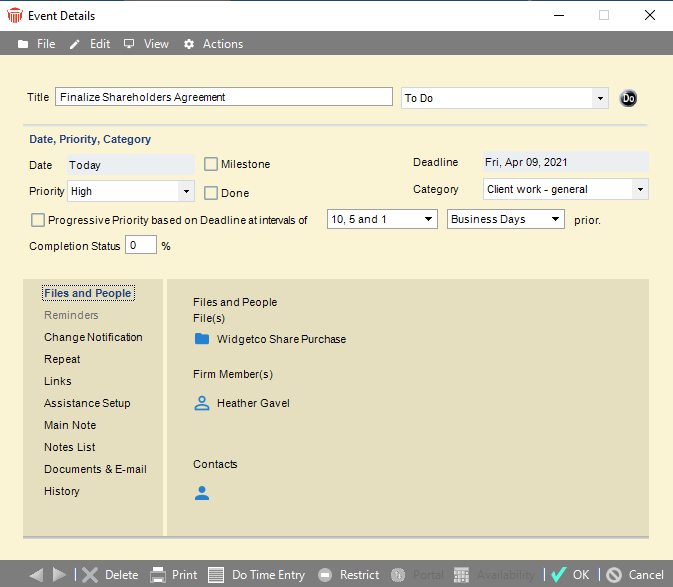
To view or change the details of an Event, double-click the Event in a list or schedule. Or, select the event in a list, right-click on the list, and choose Open on the shortcut menu to display the Event Details dialog for that Event.
Past Appointments
In the Events lists, Appointments scheduled before today are shown in gray. They are still editable.
Editing a Repeating Event
Whenever you edit an Event that is Repeating, you will be asked whether you want the changes to affect only that instance of the Repeating Event or all the occurrences. If you change only that instance, a separate Exception instance of the Event is created.
Getting File and People information on an Event
If you are looking at the Event Details and you need to refresh your memory about an associated File, click the File's name in the Files and People view. The appropriate File Details window appears.
Similarly, if you need to see more information about a Person involved with the Event, click the Person's name in the Files and People view. The appropriate Person Details window appears.
Saving or Canceling your changes to an Event
Click OK to save any changes you have made to the Event. If you do not want to save the changes, click Cancel to put the Event back the way it was.
Viewing a history of changes
To see a history of changes made to an Event, choose History on the navigation list in its Event Details dialog.
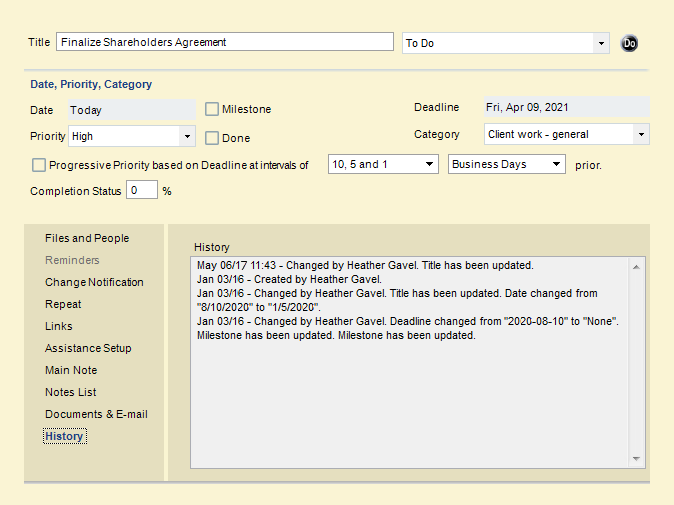
The changes are listed from oldest to newest. The date of the change, name of the Person who made the change, and nature of the change are shown. The list includes the creation of the Event, the creation of an Exception occurrence of a Repeating Event, changes to time, Deadline, or Priority, and so on.
Doing a Time Entry
You can create a Time Entry on an Event as you are looking at its Event Details by clicking the Time Entry button at the bottom of the dialog. The Time Entry dialog appears. For more information on doing Time Entries, see Creating a Time Entry.
Related Topics