 Sending and receiving Phone Messages
Communications > Sending and receiving Phone Messages
Sending and receiving Phone MessagesWhen you answer a phone call intended for another Firm Member, you can send that Firm Member a Phone Message about the phone call. This Phone Message will include the names of the People the Phone Message is from, the associated Files, a summary of what the phone call was about, whether the caller wants a return call, and so on.
After the recipient is alerted to your Phone Message, he or she can view its details and decide whether to call the person back, set a Follow-Up To Do, keep the Phone Message permanently, forward the Phone Message to another Firm Member, or mark the Phone Message as Dealt With.
You can record and send a Phone Message to a Firm Member from several locations. For example, you can:
Click Actions > New > Phone Message from the main menu or select New > Phone Message from the shortcut menu in the Communications Index window—for more information, see Working in the Communications Center.
Choose File > New > Message from the main menu.
Click Message in a Phone Call Details dialog
Right-click on a Communications list in the Files, People, Calendar, Dailies, or Communications modules and choose New > Message on the shortcut menu that appears
Convert a Note to a Phone Message—for more information, see Converting a Note to another record
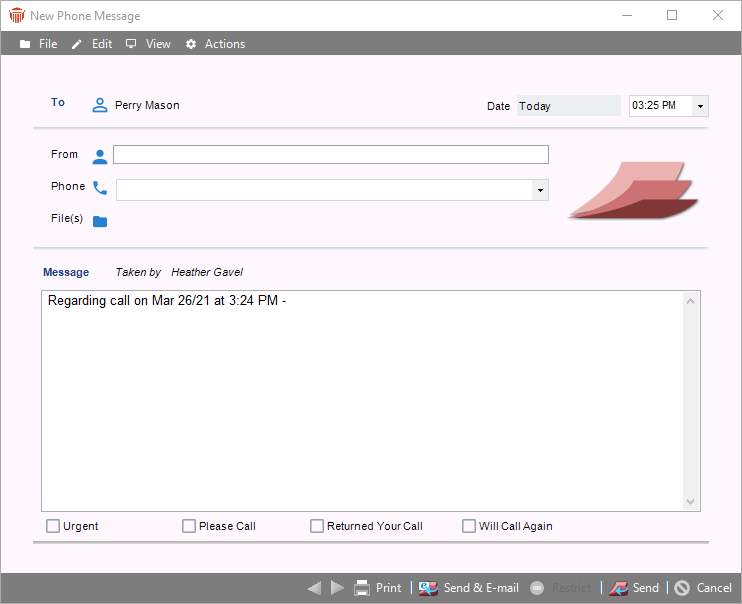
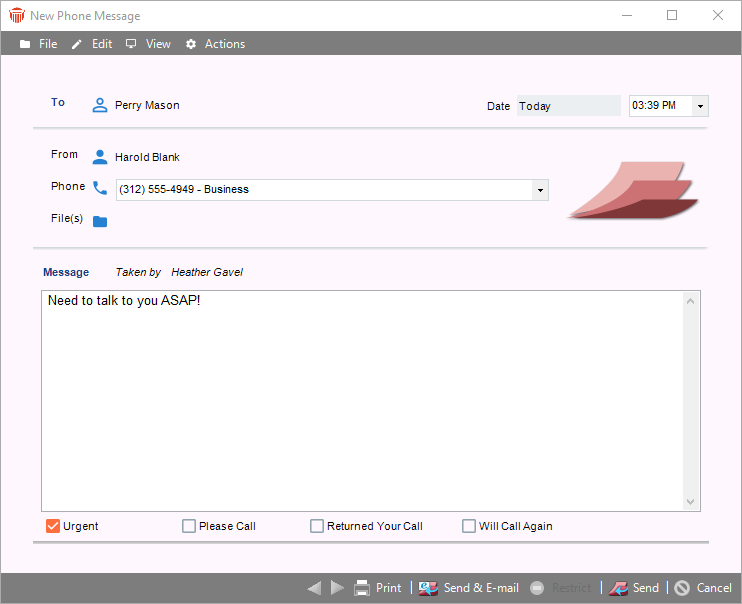
The New Phone Message dialog appears, with as much information as possible already filled in.
 |
Tip: You can use Phone Messages to record the details of your phone calls while you listen to your voice mail messages, and then send the Phone Messages to yourself. |
After you receive a phone call it is a good idea to make a record of the details for future use.
In the Communications module, click Actions > New > Phone Call or select New > Phone Call from the shortcut menu in the Communications Index to display the Phone Call Details dialog.
Select an Action from the top dropdown menu if you wish.
Select either To or From at the dropdown menu and select the Contact icon beside the field to display the Select People dialog. Select the Firm Member(s) and click OK.
You are returned to the Phone Call Details dialog where the People and Phone fields are auto-populated with your selection
Or, enter names in the fields.
 |
Note: You can set a preference that specifies to whom your new Phone Messages should be addressed by default. This is especially useful if you are an assistant who normally takes messages for a particular lawyer. If you are a lawyer, you could specify yourself and so facilitate recording your voice mail. |
Click the File icon to display the Select Files dialog. Select the relevant file(s) and click OK.
Specify the Date and Time of the Phone Message. The default is the current date and time. Edit them if necessary.
In the bottom section, select an option from the dropdown menu and click a radio button.
Type a description of the phone call in the Message box.
When you have finished entering the details of the Phone Message, click OK.
Or, select an icon from the footer to Print, Follow-up, Send a message etc...
If a Firm Member has sent you a Phone Message, you will be notified in various ways. For example:
If the Phone Message is marked Urgent, you receive a Sticky.
When you start Amicus Attorney, a reminder about new Phone Messages appears in your Today's Practice Reminders in the Dailies module.
If you are logged into Amicus Attorney when a new Phone Message arrives, you hear a "ringing phone" sound. (You can enable this feature in your preference settings.)
A telephone icon appears in the notification area of your Windows taskbar. (You can enable this feature in your preference settings.)
You can set a preference that specifies to whom your new Phone Messages should be addressed by default. This is especially useful if you are an assistant who normally takes messages for a particular lawyer. If you are a lawyer, you could specify yourself and so facilitate recording your voice mail.
|
Note: If you are working in another Firm Member's Office, you will not receive notification about Phone Messages sent to you. You are also not alerted to Phone Messages sent to the Firm Member whose Office you are working in. |
Phone Messages appear in Communications lists throughout Amicus—in the Communications, Dailies, Files, People, and Calendar modules.
You can quickly see all your Outstanding Phone Messages:
In your Outstanding view of the Communications module—see Working in the Communications Center.
In your Today's Overview in the Dailies module—see Today's Overview.
To view the details of a Phone Message, double-click it in a Communications list. Or, select the Phone Message in a list, right-click on the list, and choose Open on the shortcut menu that appears. The Phone Message dialog appears.
You can work with Phone Messages in various ways. For example, you can:
Return a Phone Call from a received Phone Message (by clicking the Phone button)
Forward a received Phone Message
Delete a Phone Message
Print a Phone Message
Create a Follow-Up To Do on a received Phone Message
Add Restrictions
Mark a Phone Message as Returned, Dealt With/Outstanding, or Unread
Prevent a Phone Message from being automatically deleted—see below
For more information, see Working with Communications functions.
|
Note: If a Phone Message is deleted by either the Firm Member who sent it or the one who received it, it is removed from both Firm Members' Communications lists. |
Phone Messages are automatically deleted after the amount of time specified in your preferences has elapsed. However, you can prevent a particular Phone Message from being deleted automatically. To do this, select the Keep Message Permanently checkbox at the bottom of the Phone Message dialog.
Related Topics