Calendar > Day View
 Day View
This topic covers:
To display the Day view, open the Calendar module and click Day at the bottom.
The Events as currently filtered are shown for the date indicated in the heading near the top of the window. On either side of this date are Arrow buttons. (If you display your Communications or Diary in this view, they are shown for this same date.)
If the day is a Red Letter Day (i.e. one you created or one to which you are assigned), the Title of the Red Letter Day Event is shown in red italics, below the date in the heading. You can click on the Title to display details of that Event.
If the day is a holiday, the Title of the holiday is shown in red italics, below the date in the heading.
Navigating in the Day View
You can use the date heading, control panel, and Navigation Pane to navigate in the Day view.
Going to the previous or next day
To display the previous or next date, you can click the Right or Left Arrow buttons next to the date at the top of the window.

Going to a specific day
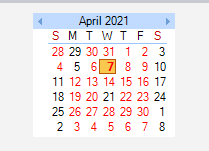
To display the Events for a particular date, ensure that the desired date is shown in a navigation calendar in the control panel, and then click that date.
Looking up a day's Appointments
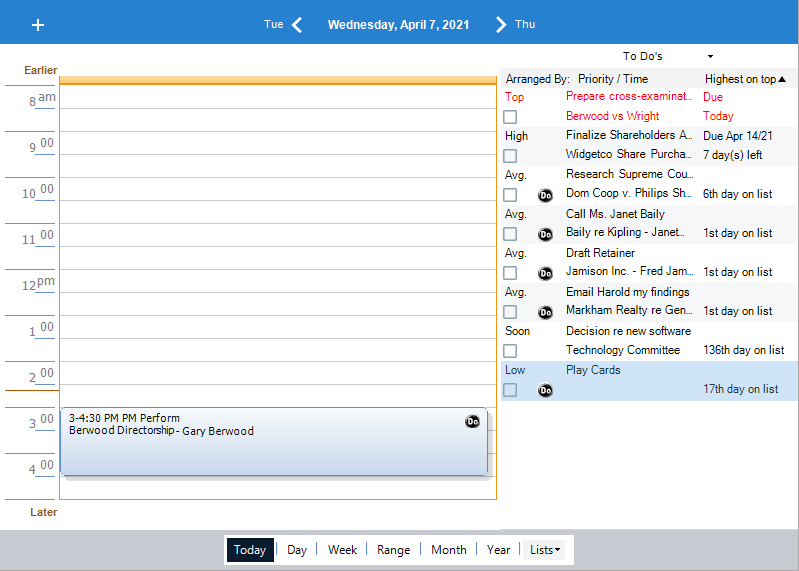
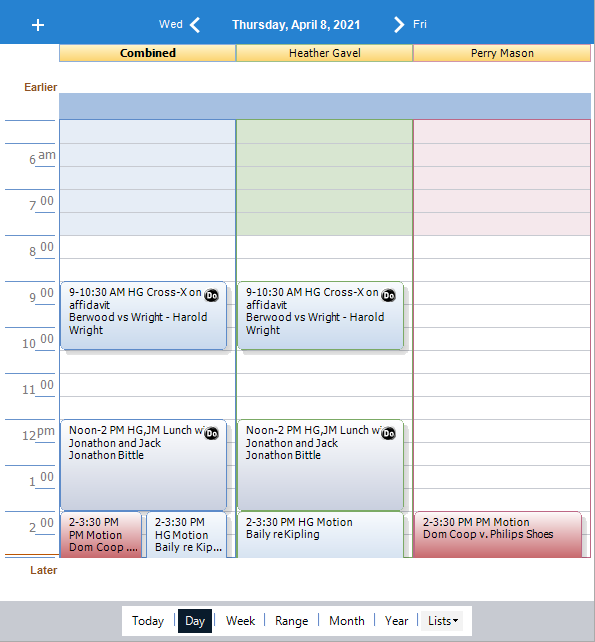
The Appointments for the people selected in your current Profile on a specific date are shown in the graphical day section of the Calendar's Day view for that date.
Each Appointment in the graphical day section shows:
-
The start and end time of the Appointment
-
The initials of the Firm Members assigned to the Appointment (only if the filter is not set to show only your own Events)
-
The Appointment Title
-
The Short File Name of the Files associated with the Appointment (You can open the File Details directly by clicking a File hyperlink.)
-
The Main Note on the Appointment
-
A Time Entry button (if the Appointment is in the past and a Time Entry has not yet been created for it)
-
A DO button (if Intelligent Assistance has been set for the Appointment)
What range of times is shown
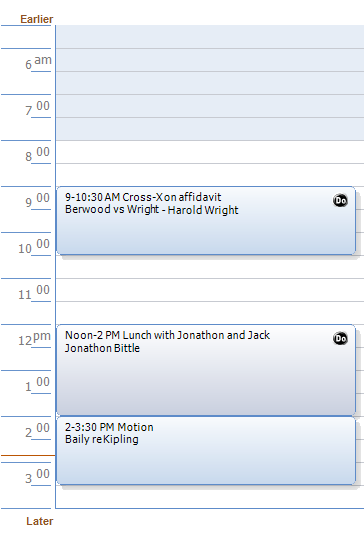
The range of times shown in the graphical day section—e.g. 8.00 am to 8:00 pm—depends on the size of your Calendar window. Appointments before or after this period are shown in the Earlier or Later row, as appropriate.
Viewing multiple schedules
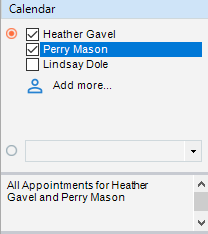
If you show Events for multiple People, multiple columns will be shown, one column per Person and, optionally, a combined schedule column at the left. The right-hand section of the Day view (for listing To Do's, Communications, Appointments, or your Diary) can be hidden, depending on your current Calendar Profile.
Appointments list
If you show Events for a single Person only, Appointments may also be shown in the list at the right. To see the list of Appointments for the day, click the down arrow next to the heading above the right-hand section of the Calendar's Day view and choose Appointments on the list that appears.
Seeing more detail for the Appointments
You can expand the graphical Appointments section of the Day view by dragging its left border further to the left (reducing the width of the Navigation Pane). If you show Events for a single Person only, you can also expand the graphical section by dragging its right border further to the right (reducing the width of the right-hand list).
Working with a Day's Appointments
You can add, edit, and delete Appointments for the People selected in your current Profile from the Calendar's Day view. You can also convert an Appointment to a To Do (see Converting a To Do into an Appointment or vice versa) or carry out the following activities.
Doing a Time Entry for an Appointment
To add a Time Entry for a future Appointment, click the Time Entry icon beside it. For more information, see Creating a Time Entry.
Changing the Title on an Appointment
Click in the Appointment in the Day view to select it. This allows you to type a new title in place, without having to open the Event Details.
Rescheduling an Appointment
The standard way to reschedule an Appointment is to double-click the Appointment and make the desired changes in the Event Details dialog that appears. However, there are easier ways to change an Appointment's date and time.
One way to change the start or end time of an Appointment is by resizing the Appointment block. First, click the Appointment to select it. Then drag the top or bottom of the block up or down as necessary, until the Appointment covers the desired time period.
To move an Appointment within a day, click the Appointment to select it and then drag the block up or down to the desired time period. Notice that, while the block is selected for dragging, the cursor is shown with a small rectangle at its tail.
You can move the Appointment to another day by dragging it onto the desired date in the navigation calendar at the left.
Reassigning an Appointment if multiple People are shown
As usual, you can double-click an Appointment and then make the desired changes in the Event Details dialog that appears. However, if your Day view has been set to display the Appointments for multiple People, there are more convenient techniques available to you:
-
To assign an Appointment to all the People shown, drag the block to the combined schedule column at the left. The Appointment's previous associations with any other People are kept. Notice that, while the block is selected for dragging, the cursor is shown with a small rectangle at its tail.
-
To reassign an Appointment from one of the People shown to another, drag the block from the first Person's column to the second Person's column.
Copying an Appointment
To copy an Appointment, click the Appointment to select it, and then press and hold down the <CTRL> key while you drag the block to the desired date in a navigation calendar at the left. When you drop the Appointment, a copy is scheduled on that date, while the original remains in place.
Related Topics